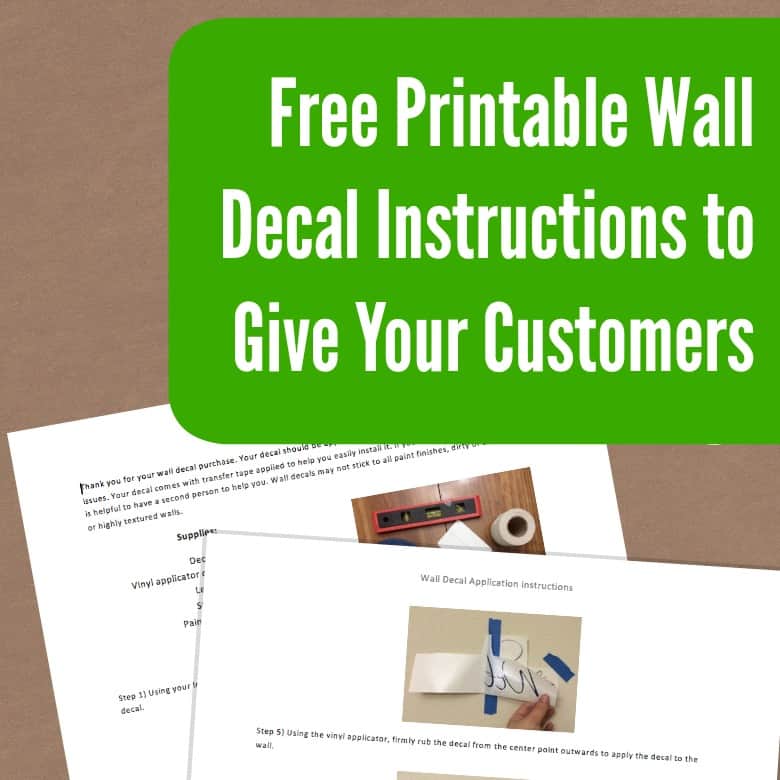
A Beginner's Guide to Applying Printable Vinyl


Preparation is Key
Applying printable vinyl can be a fun and creative way to add a personal touch to your projects. Whether you're a crafter, a DIY enthusiast, or a small business owner, printable vinyl can help you create unique and eye-catching designs. However, applying it can be a bit tricky, especially if you're new to the process. In this article, we'll walk you through the steps to apply printable vinyl like a pro.
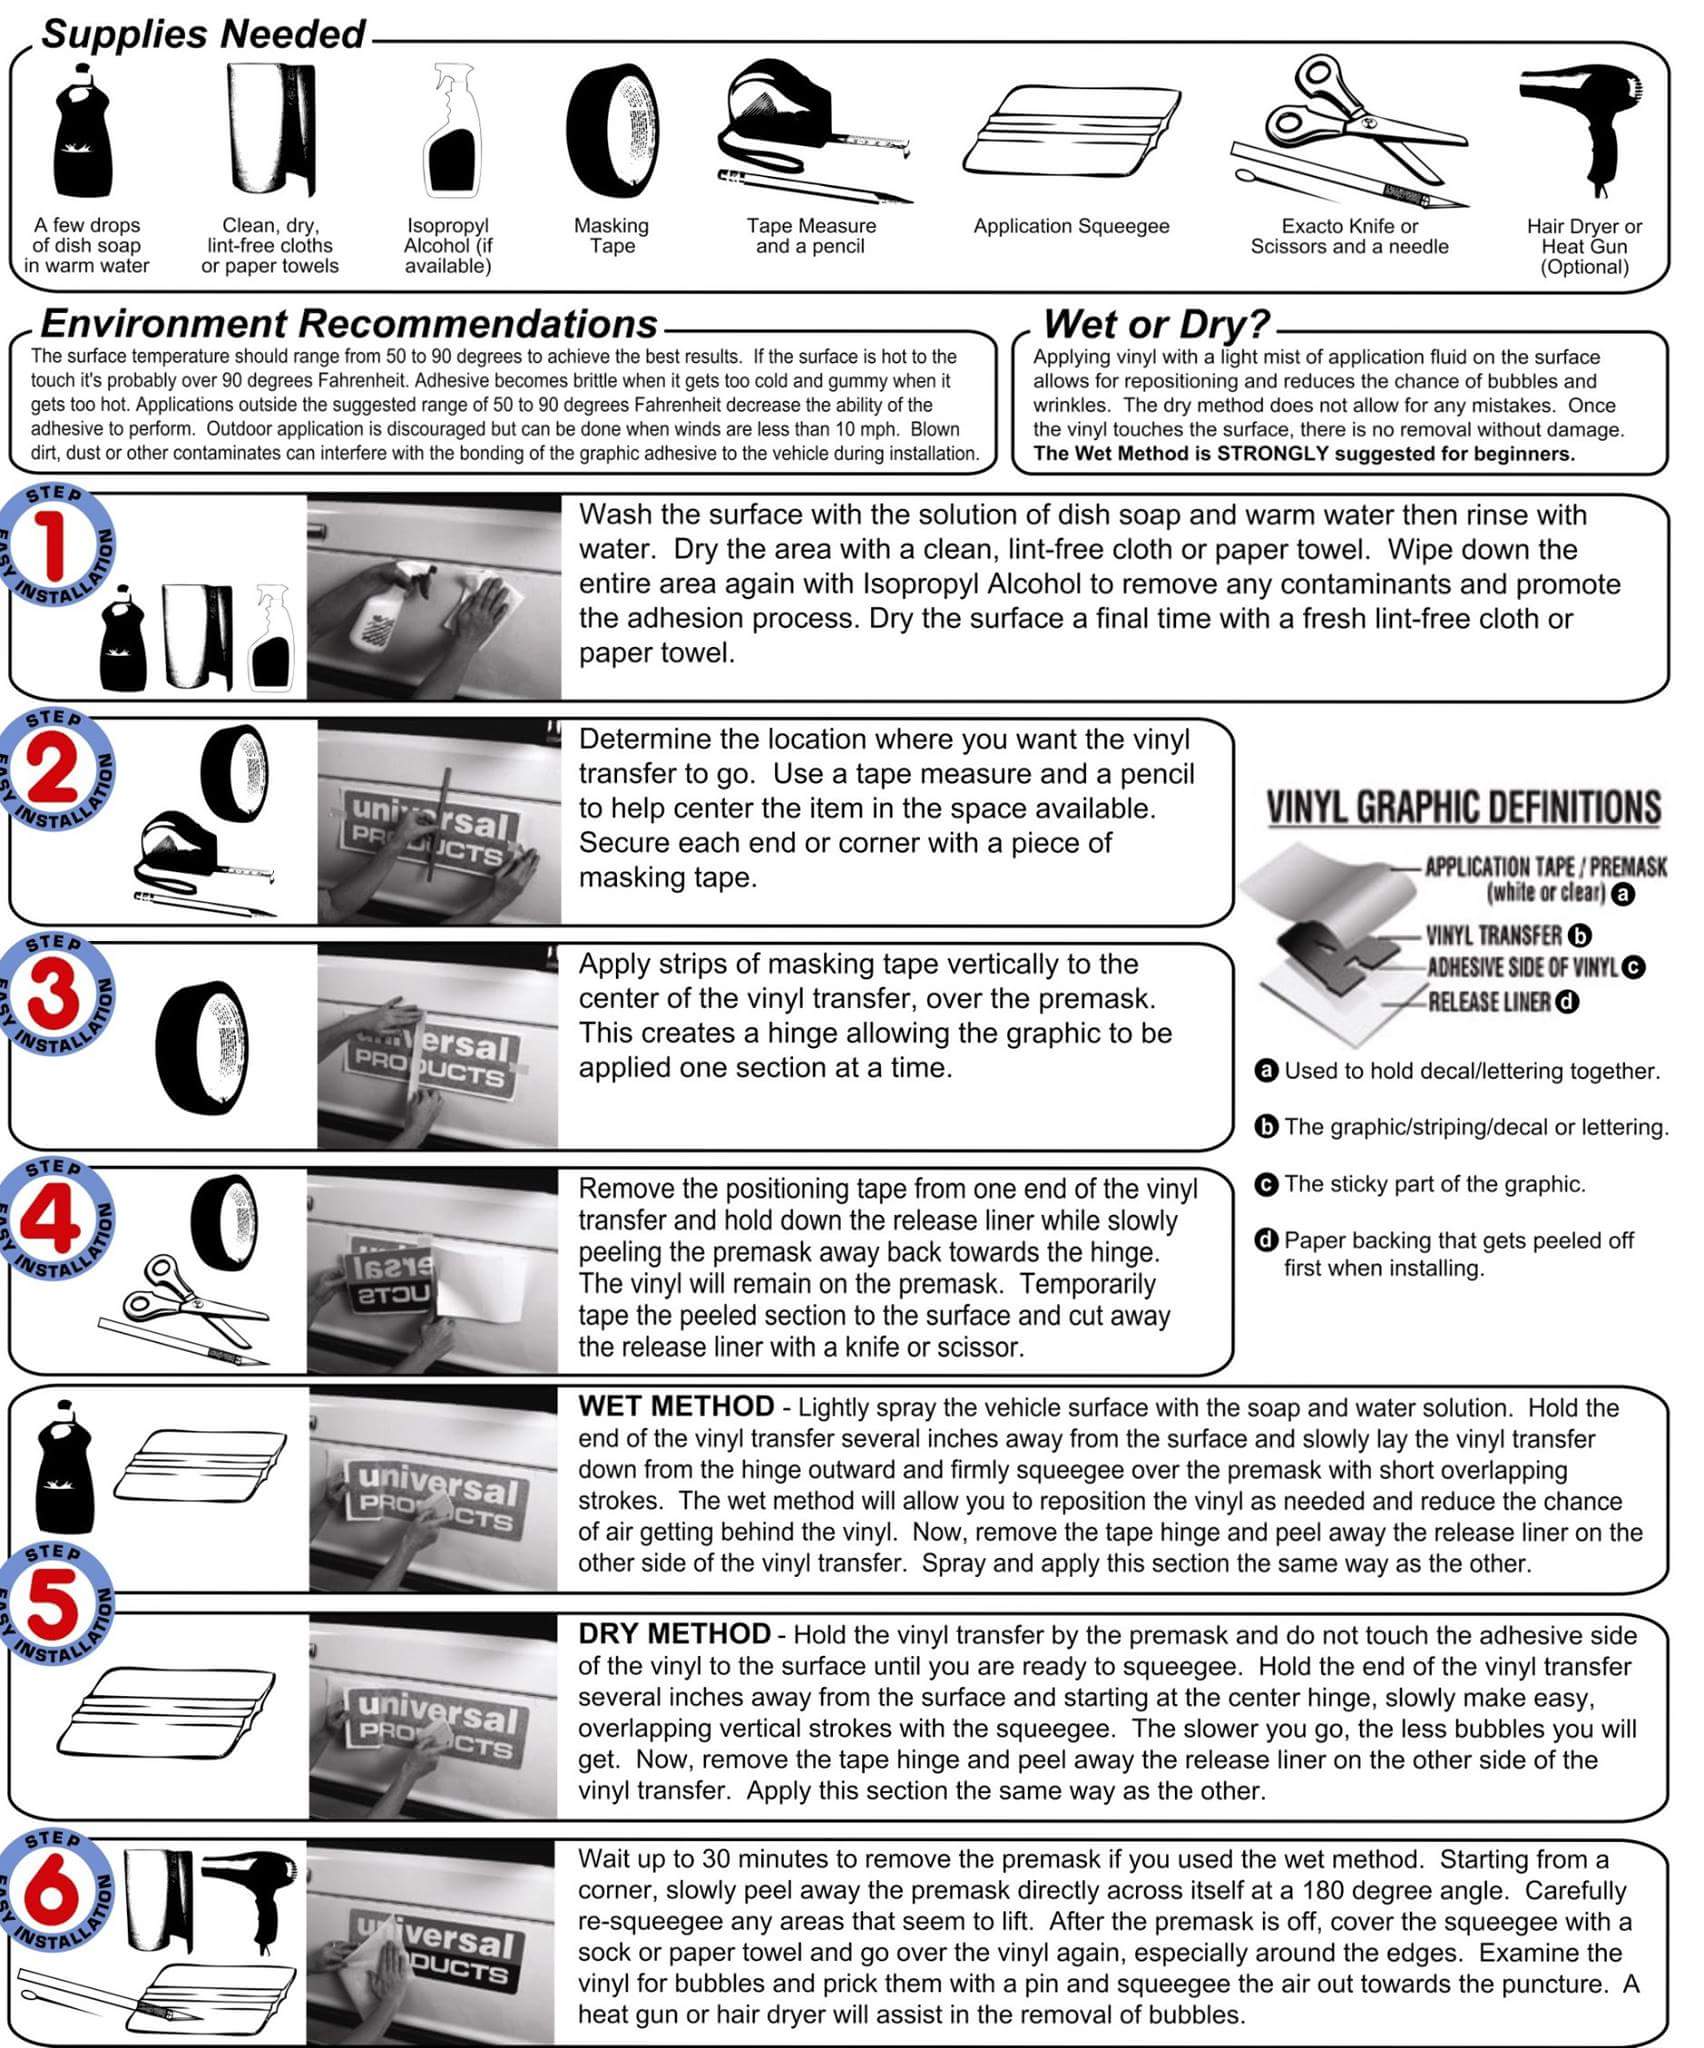
Before you start applying the vinyl, make sure you have all the necessary tools and materials. You'll need a cutter or scissors, a weeding tool, a transfer tape, and a surface to apply the vinyl to. It's also important to choose the right type of vinyl for your project. There are many different types of printable vinyl available, each with its own unique characteristics and uses.
Tips and Tricks for a Smooth Application
Preparation is Key When it comes to applying printable vinyl, preparation is key. Make sure your surface is clean and dry before applying the vinyl. Any dirt, dust, or moisture can cause the vinyl to bubble or peel off. Also, make sure you have the right temperature and humidity levels in your workspace. Extreme temperatures or humidity can affect the adhesive properties of the vinyl.
Tips and Tricks for a Smooth Application To ensure a smooth application, use a transfer tape to apply the vinyl. This will help you avoid air bubbles and wrinkles. Start by applying the transfer tape to the vinyl, then place the vinyl on the surface. Use a credit card or a similar tool to smooth out any air bubbles or wrinkles. With a little practice and patience, you'll be able to apply printable vinyl like a pro. Remember to always follow the manufacturer's instructions and take your time to ensure a successful application.