Create A Timeline: A Step-by-Step Guide to Creating a Printable Timeline


Why Create a Timeline?
Creating a timeline can be a great way to organize and visualize events, projects, or goals. Whether you're a student, professional, or simply looking to plan a personal project, a timeline can help you stay on track and achieve your objectives. In this article, we'll show you how to create a timeline and make it printable, so you can easily reference and share it with others.
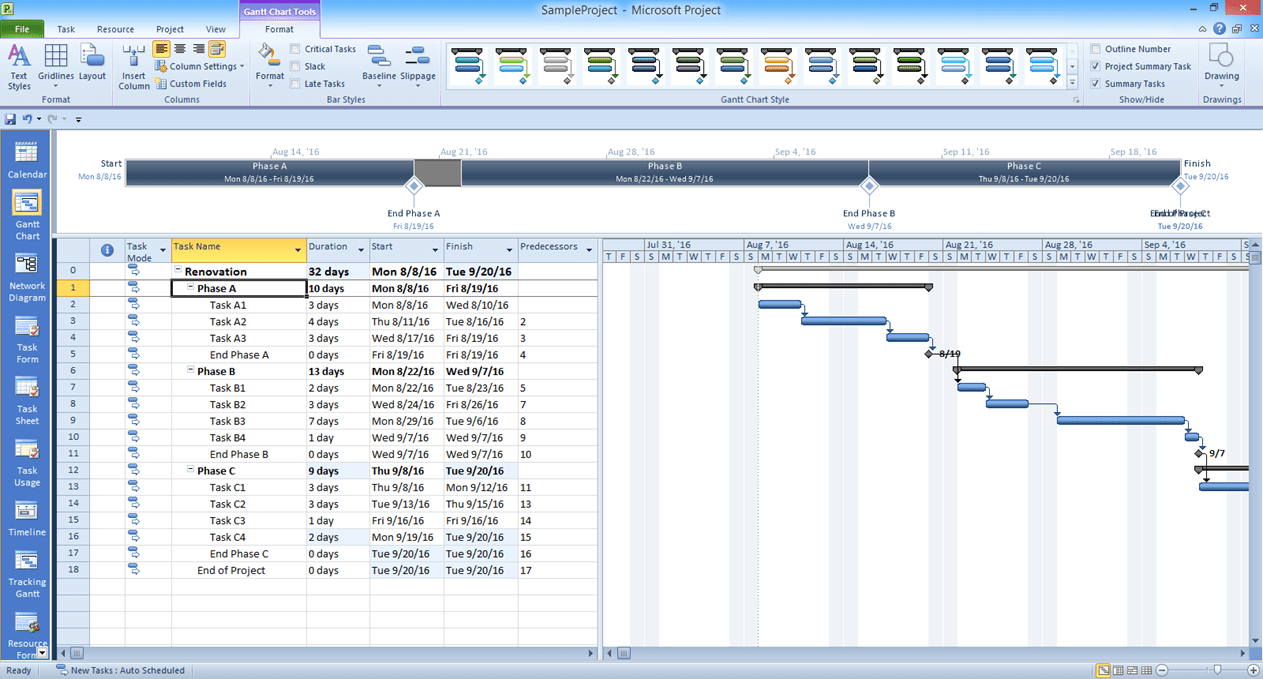
To create a timeline, you'll need to start by defining the scope and purpose of your project. This will help you determine the timeframe, events, and milestones that you want to include. You can use a spreadsheet or a specialized timeline software to create your timeline, or simply use a piece of paper and a pencil. Once you have your events and milestones listed, you can start to organize them into a chronological order, using dates, times, or other relevant details.
Customizing Your Printable Timeline
Why Create a Timeline? Creating a timeline can have numerous benefits, from helping you prioritize tasks and manage your time more effectively, to facilitating communication and collaboration with others. By visualizing your project or goal as a timeline, you can identify potential roadblocks and opportunities, and make adjustments as needed. Additionally, a timeline can serve as a useful reference point, allowing you to track progress and reflect on past events.
Customizing Your Printable Timeline Once you've created your timeline, you can customize it to suit your needs. You can add colors, images, and other visual elements to make it more engaging and easy to read. You can also add notes, comments, or other details to provide additional context. To make your timeline printable, you can export it as a PDF or image file, or use a specialized printing software to create a high-quality printout. With a printable timeline, you can easily share it with others, or display it in a prominent location to keep yourself motivated and on track.