Making 3D Files Printable: A Step-by-Step Guide
Preparing Your 3D Model
With the rise of 3D printing, more and more people are looking to create their own printable 3D files. However, making a 3D file printable can be a daunting task, especially for those who are new to 3D modeling. In this article, we will guide you through the process of making a 3D file printable, from preparing your 3D model to fixing common issues that may arise during the printing process.
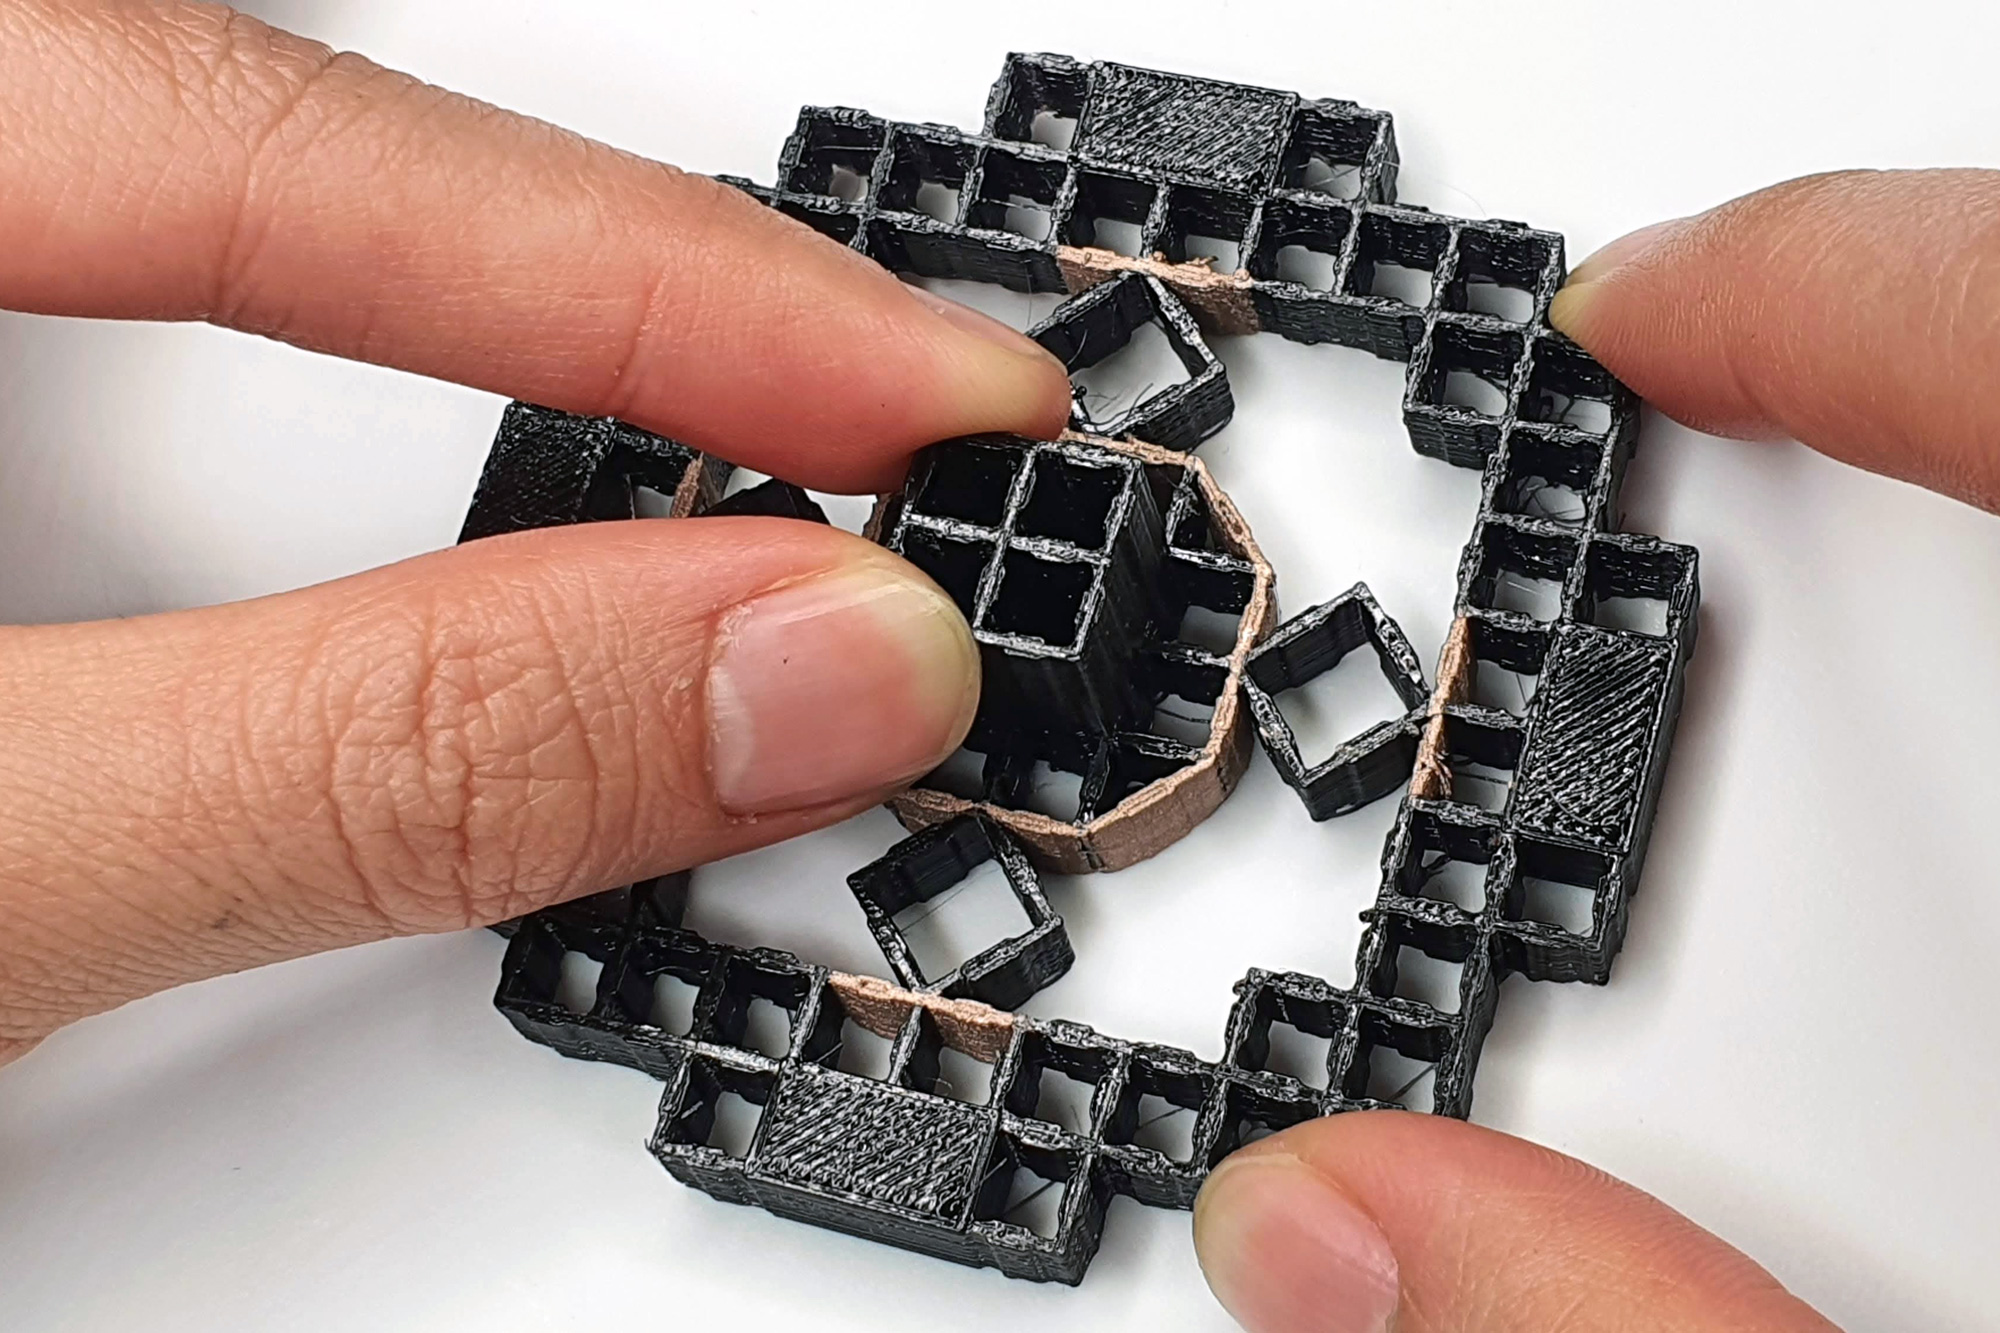
The first step in making a 3D file printable is to prepare your 3D model. This involves ensuring that your model is watertight, meaning that it has no holes or gaps, and that it is manifold, meaning that it has no overlapping or intersecting surfaces. You can use software such as Blender or MeshLab to check your model for errors and fix any issues that you may find.
Fixing Common Issues
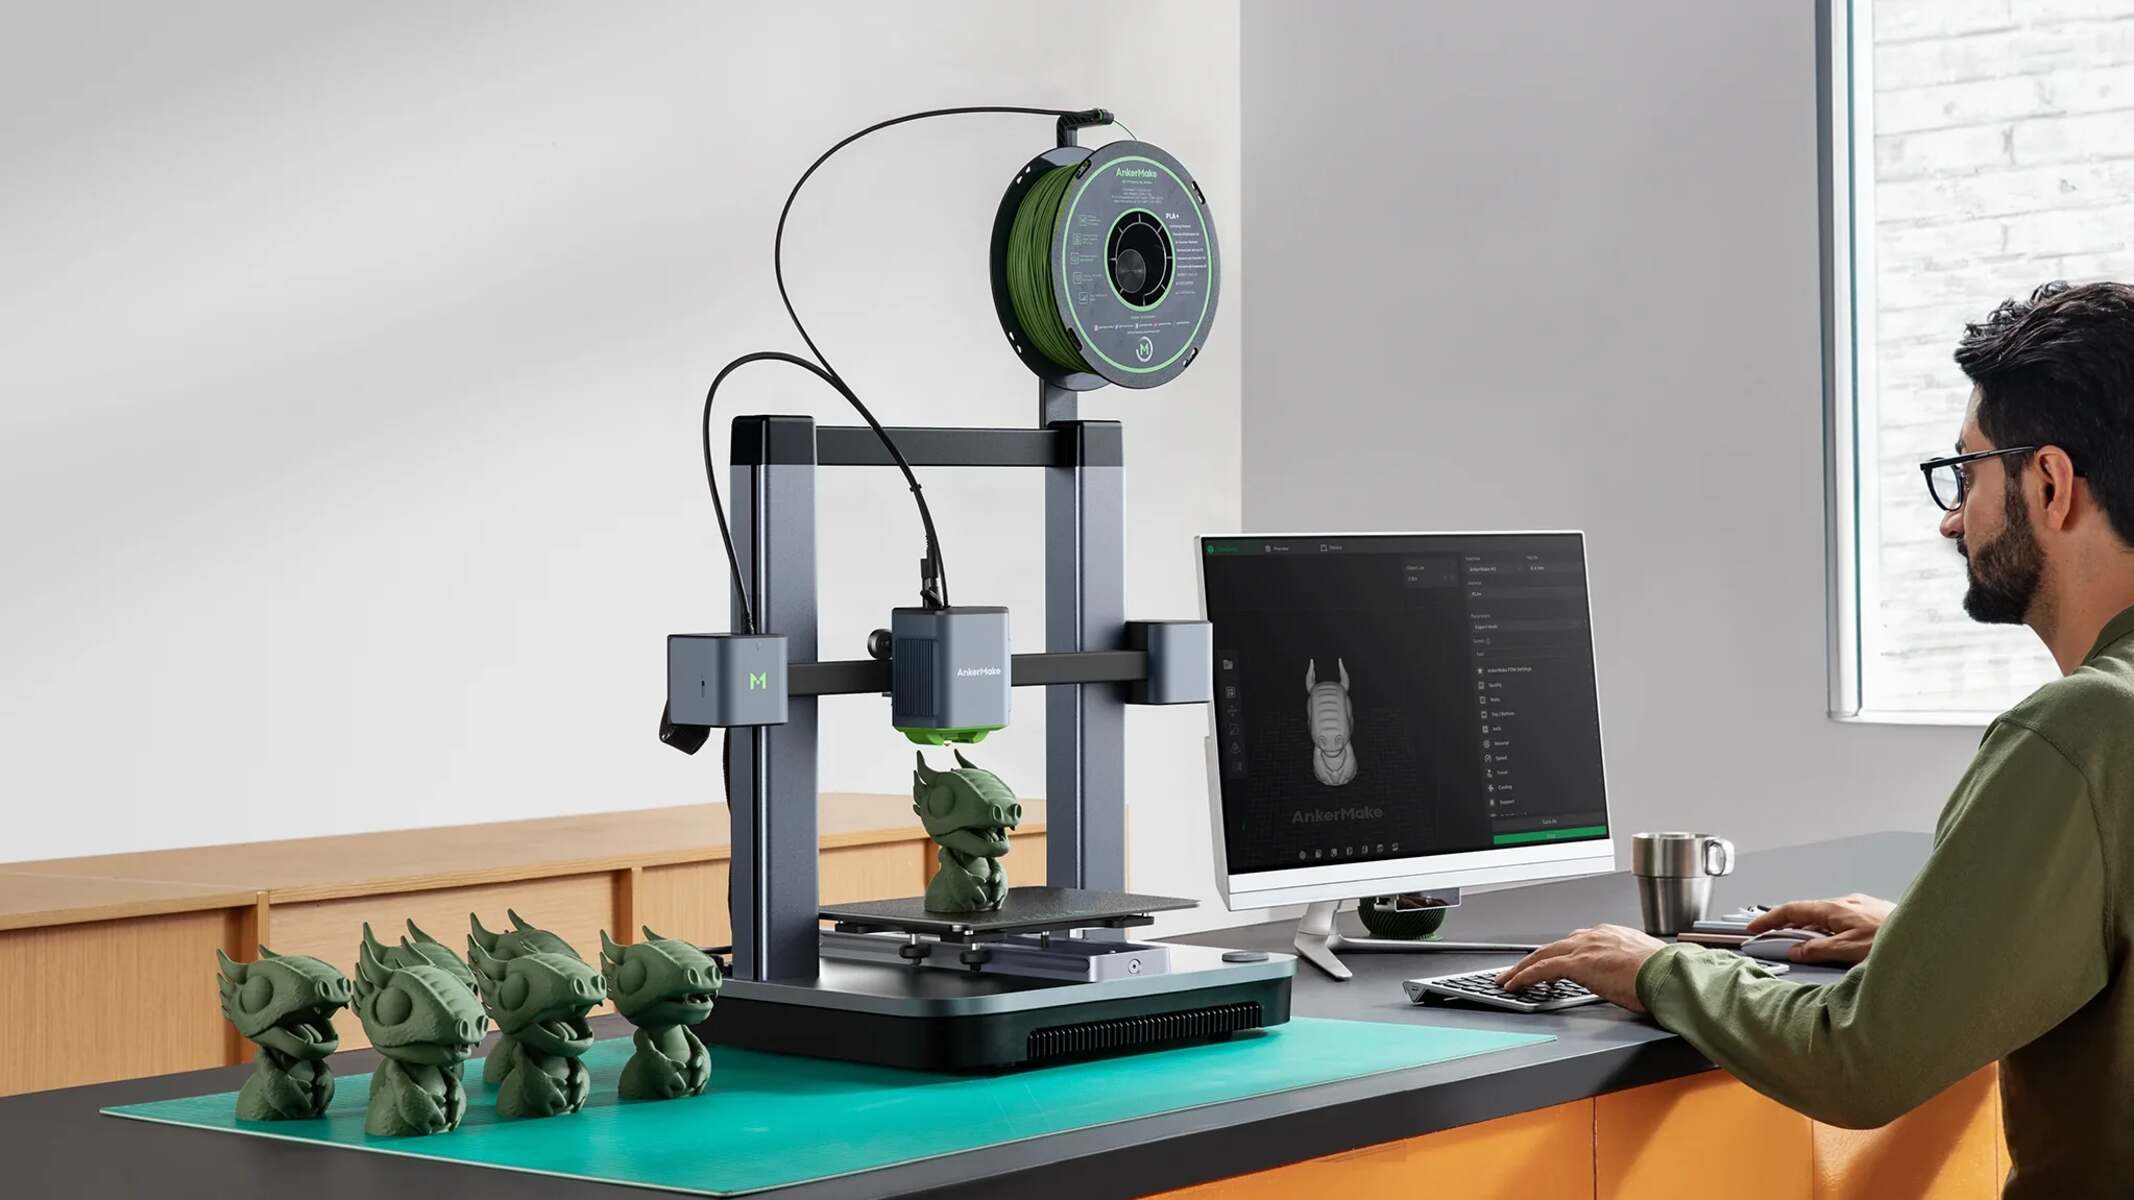
Preparing Your 3D Model When preparing your 3D model, it's also important to consider the size and scale of your model. Make sure that your model is the correct size for your 3D printer, and that it is scaled correctly. You should also check your model for any thin walls or fragile areas that may be prone to breaking during the printing process. By taking the time to prepare your 3D model, you can ensure that it prints successfully and looks great.
Fixing Common Issues Once you have prepared your 3D model, you can start to fix any common issues that may arise during the printing process. One common issue is a model that is not oriented correctly on the print bed. To fix this, you can use software such as Cura or Slic3r to rotate and position your model correctly. Another common issue is a model that has overhangs or areas that are difficult to print. To fix this, you can use support material or modify your model to make it more printable. By following these tips and taking the time to prepare your 3D model, you can create high-quality printable 3D files that will impress anyone.