How To Make A Printable Mailing Label
Designing Your Mailing Label
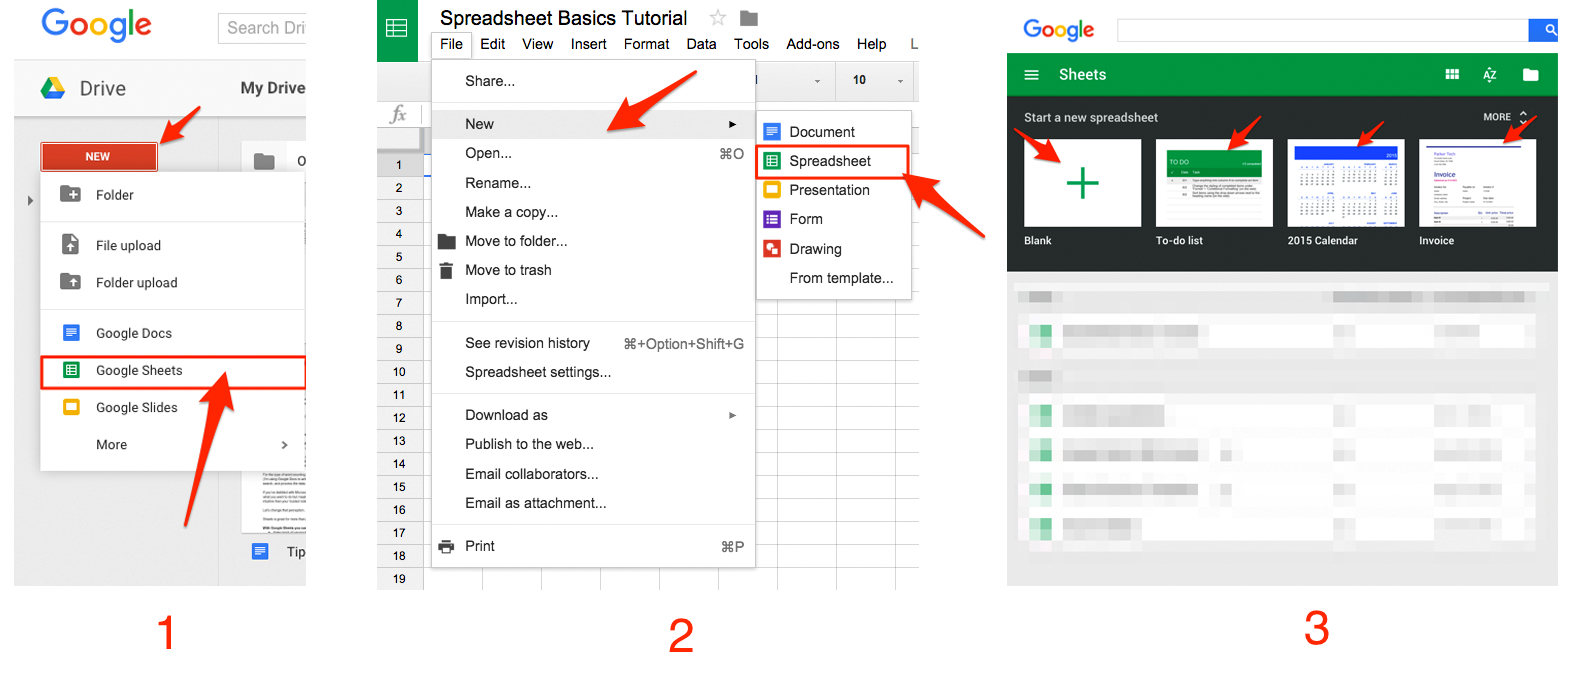
Creating a printable mailing label is a straightforward process that can save you time and effort when sending out mail or packages. To start, you will need a computer with a word processing or design software, a printer, and some basic knowledge of how to use these tools. You can use popular software like Microsoft Word or Google Docs to create your mailing label template. Begin by opening your chosen software and selecting a new document or template.
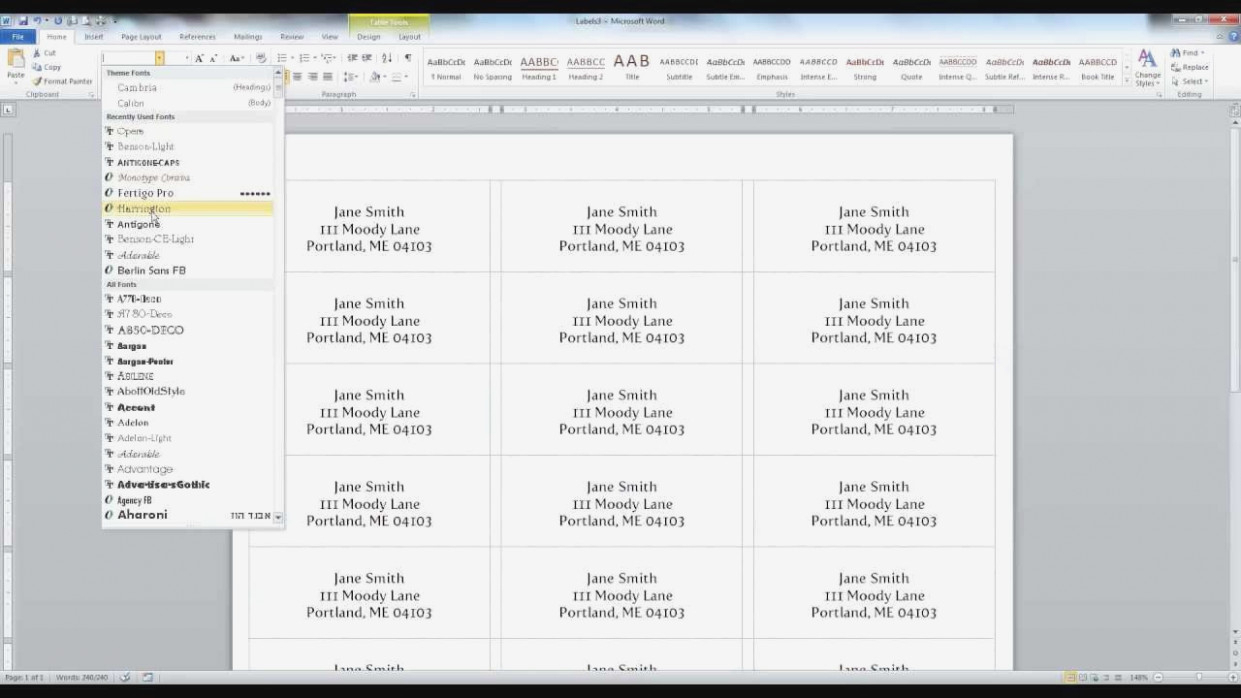
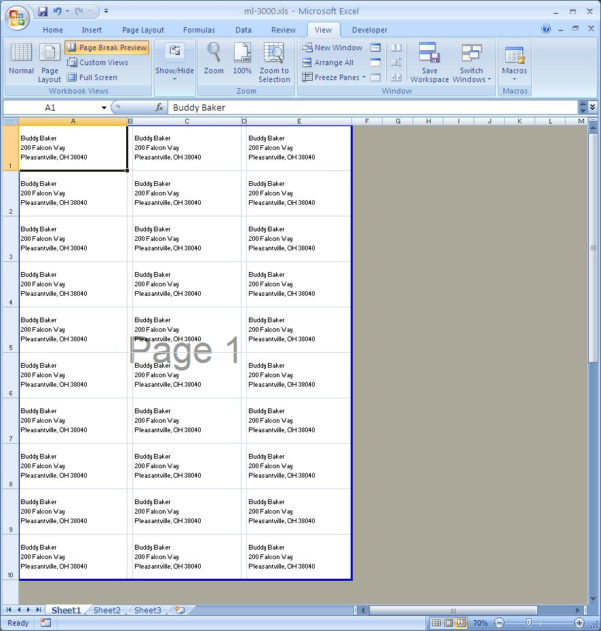
When designing your mailing label, consider the size and layout of the label. A standard mailing label is usually 2.5 x 1 inches in size, but you can adjust the size to fit your specific needs. You will also need to decide on the information you want to include on the label, such as the recipient's name and address, your return address, and any relevant handling instructions.
Printing Your Mailing Label
To ensure your mailing label looks professional and is easy to read, choose a clear and simple font, such as Arial or Helvetica. You should also use a font size that is large enough to be easily readable, but not so large that it takes up too much space on the label. Once you have designed your mailing label, you can save it as a template and use it again in the future. This can be especially useful if you need to send out multiple packages or letters to the same address.
Once you have created and saved your mailing label template, you can print it out on your chosen label paper or cardstock. Make sure to adjust the print settings on your printer to ensure the label prints clearly and accurately. You can also use a label maker or a specialized mailing label printer for more precise and professional-looking results. With your printable mailing label in hand, you can quickly and easily apply it to your package or envelope, saving you time and hassle in the long run.