Create Your Own Custom Stickers: A Guide to Making Printable Vinyl Stickers with Cricut
Materials Needed
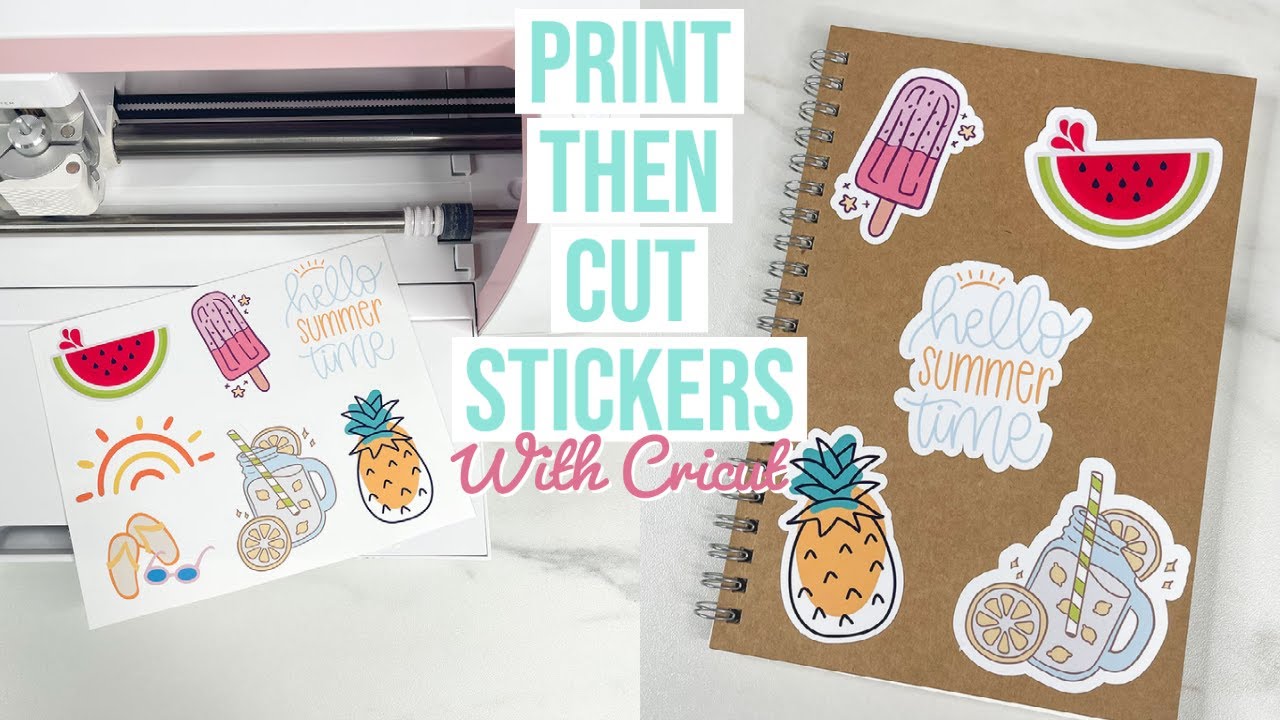
Making printable vinyl stickers with a Cricut machine is a fun and creative way to personalize your belongings, decorate your space, or even start a small business. With the right materials and a bit of practice, you can create custom stickers that are both durable and long-lasting. In this article, we'll walk you through the process of making printable vinyl stickers with your Cricut machine, from preparation to application.
To get started, you'll need a few basic materials, including printable vinyl, a Cricut machine, and a computer with design software. You'll also need a cutting mat, a weeding tool, and a transfer tape to apply your stickers. Make sure to choose a high-quality printable vinyl that is specifically designed for use with your Cricut machine.
Designing and Printing Your Stickers
Materials Needed When it comes to designing your stickers, the possibilities are endless. You can use a variety of fonts, colors, and images to create unique and eye-catching designs. Use your Cricut design software to create your sticker design, and then send it to your Cricut machine to cut out the vinyl. Once your stickers are cut, use a weeding tool to remove any excess vinyl and apply a transfer tape to the top of the sticker.
Designing and Printing Your Stickers Once you've designed and printed your stickers, it's time to apply them to your desired surface. Make sure the surface is clean and dry, and then peel off the backing paper and apply the sticker. Use a credit card or similar tool to smooth out any air bubbles, and your sticker is ready to use. With these simple steps, you can create custom printable vinyl stickers with your Cricut machine and add a personal touch to any project or surface.