How To Overlay Topo Maps On Google Earth
Understanding Topo Maps and Google Earth
If you're an outdoor enthusiast, researcher, or simply someone who loves exploring new places, you've probably used Google Earth to get a bird's eye view of the terrain. However, sometimes the default imagery doesn't provide enough detail, especially when it comes to topographic features. This is where overlaying topo maps on Google Earth comes in - a powerful technique that can enhance your understanding of the landscape.
Topo maps, short for topographic maps, are detailed representations of the Earth's surface, showing features such as elevation, land use, and hydrology. By overlaying these maps on Google Earth, you can gain a more comprehensive understanding of the terrain, including the location of trails, roads, and other important features. This can be particularly useful for hikers, bikers, and other outdoor enthusiasts who need to plan their routes carefully.
Step-by-Step Guide to Overlaying Topo Maps
To overlay topo maps on Google Earth, you'll need to start by downloading the topo maps you're interested in. There are several sources available online, including the US Geological Survey (USGS) and other government agencies. Once you have your topo maps, you can import them into Google Earth using the 'Add Image Overlay' feature. This will allow you to adjust the transparency and position of the map to get the best possible view.
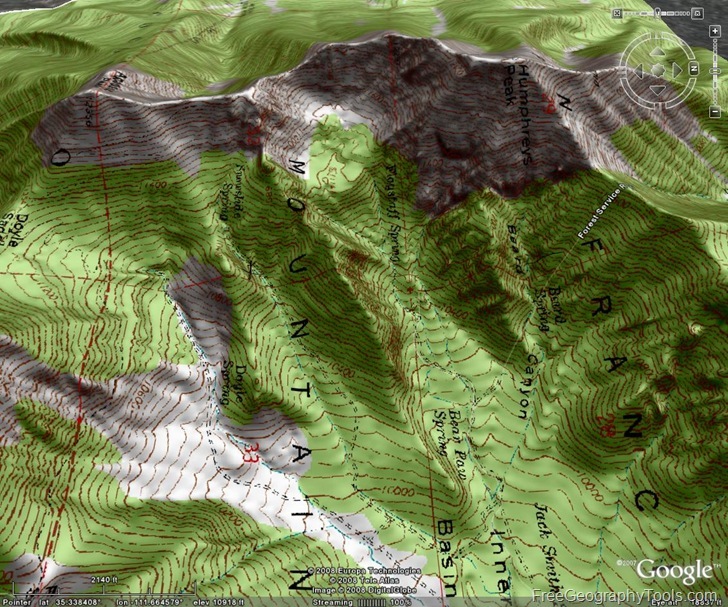
With your topo maps imported, you can start to explore the terrain in more detail. You can use the overlay to identify features such as mountains, valleys, and rivers, and to plan your route accordingly. You can also use the 'Ruler' tool to measure distances and the 'Path' tool to create a custom route. By combining the power of topo maps with the versatility of Google Earth, you can gain a deeper understanding of the world around you and make more informed decisions about your next adventure.