How To Print Labels In Google Sheets

Setting Up Your Label Template
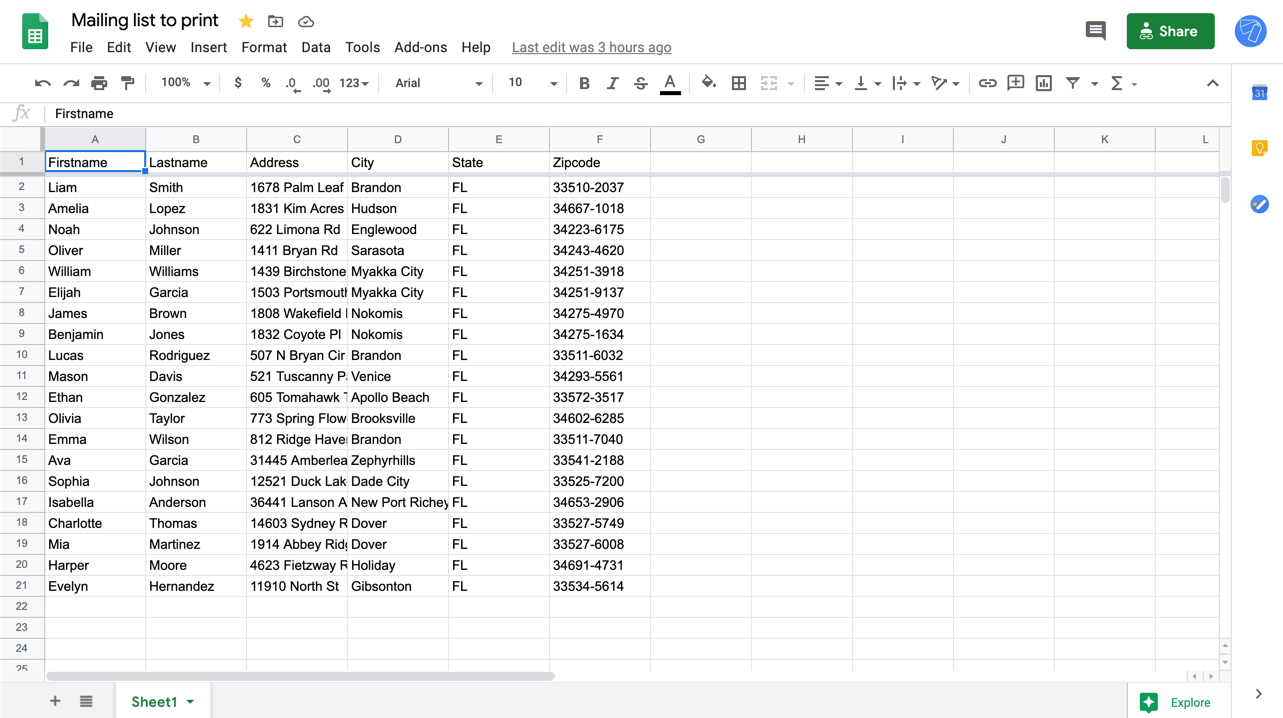
Printing labels in Google Sheets is a straightforward process that can save you time and effort. Whether you need to print labels for mailing, packaging, or organization, Google Sheets has the tools to help you get the job done. To start, you'll need to set up your label template in Google Sheets. This involves creating a new spreadsheet and setting up the columns and rows to match your label size and layout.
When setting up your label template, it's essential to consider the size and layout of your labels. You can choose from a variety of pre-made label templates in Google Sheets or create your own custom template. Make sure to adjust the column and row sizes to fit your label size, and add any necessary headers or footers. You can also use Google Sheets' built-in formatting tools to customize the font, color, and alignment of your text.
Printing Your Labels
Once you've set up your label template, you can start entering your data. This can include names, addresses, product information, or any other details you need to print on your labels. You can also use Google Sheets' formulas and functions to automate the process and save time. For example, you can use the CONCATENATE function to combine multiple columns of data into a single column, or use the FILTER function to select specific data to print.
Finally, it's time to print your labels. To do this, select the range of cells that contains your label data, then click on the 'Print' button in the top right corner of the Google Sheets window. From here, you can select your printer and label settings, including the label size, layout, and orientation. You can also preview your labels before printing to ensure they look correct. With Google Sheets, printing labels has never been easier. Simply follow these steps, and you'll be printing custom labels in no time.