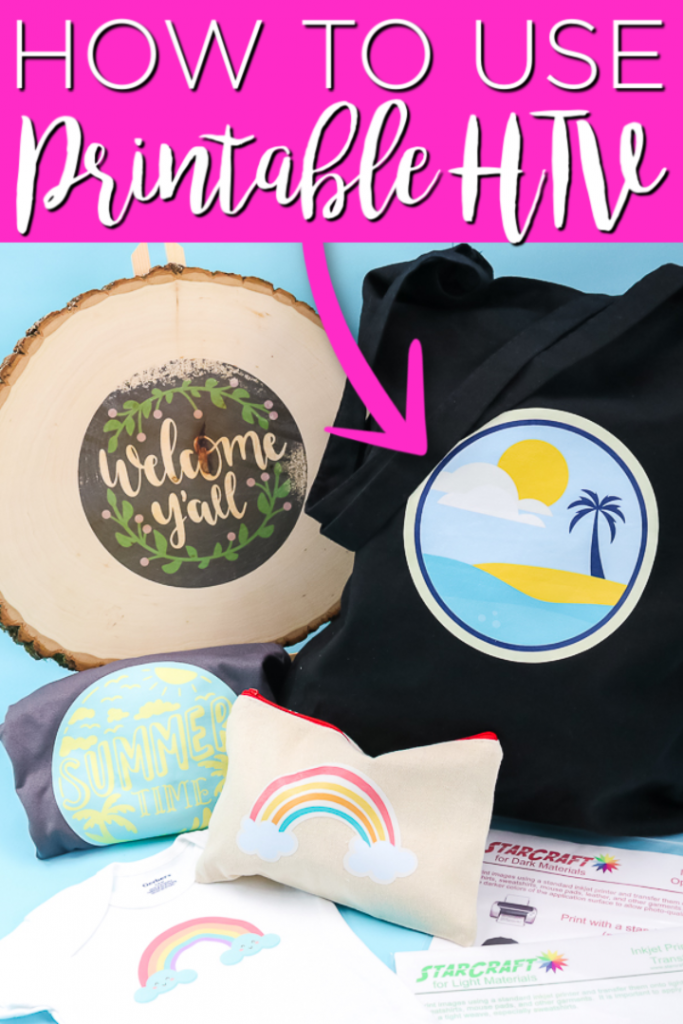
A Step-by-Step Guide to Printing Printable HTV Vinyl

Preparation is Key
Printing printable HTV vinyl can seem intimidating at first, but with the right tools and a bit of practice, you can achieve professional-looking results. The first step is to ensure you have the necessary materials, including a printer, printable HTV vinyl, and a cutting machine. It's also crucial to choose the right design or pattern for your project, taking into consideration the size, color, and complexity of the design.
When it comes to printing printable HTV vinyl, the type of printer you use can make a significant difference. Inkjet printers are the most commonly used for this purpose, as they produce vibrant colors and crisp details. However, it's essential to use the correct settings to ensure the best results. Make sure to select the appropriate paper type and adjust the print quality to achieve the desired outcome.
Tips for a Successful Print
Before printing, it's essential to prepare your design and printer. This includes mirroring your design, as HTV vinyl is typically applied to the reverse side of the material. You should also ensure your printer is properly calibrated and the printable HTV vinyl is loaded correctly. Additionally, it's a good idea to perform a test print on a small piece of vinyl to ensure the colors and design are printing correctly.
To achieve a successful print, it's crucial to follow a few simple tips. First, make sure the printable HTV vinyl is cut to the correct size to fit your printer. You should also use a lint roller to remove any dust or debris from the vinyl before printing. Finally, allow the ink to dry completely before cutting or applying the vinyl to your design. By following these steps and tips, you can create stunning prints with your printable HTV vinyl and take your crafts and designs to the next level.