A Step-by-Step Guide to Using Printable Iron On with Cricut


What is Printable Iron On and How Does it Work?
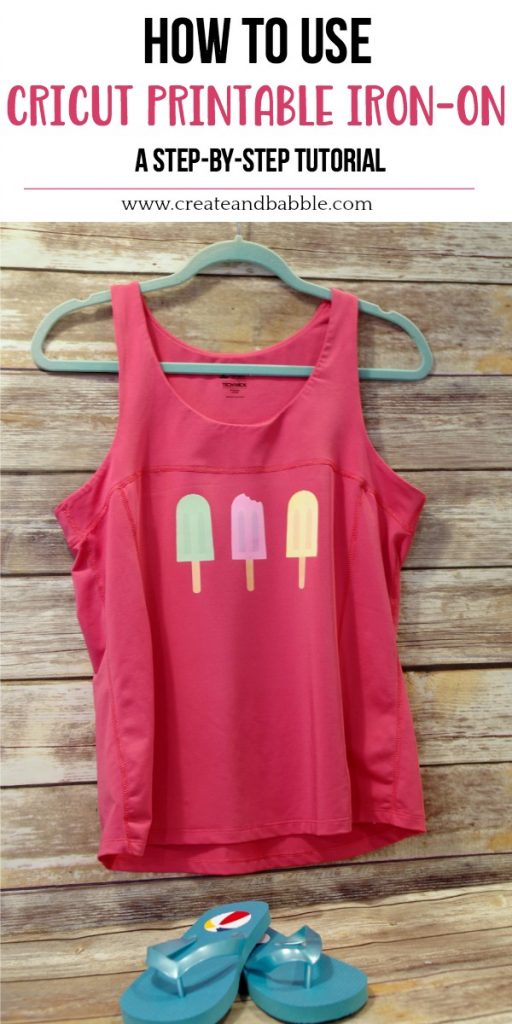
If you're looking for a way to add custom designs to your t-shirts, tote bags, or other fabric items, printable iron on is a great option. With the help of a Cricut machine, you can create professional-looking designs that are easy to apply and long-lasting. In this article, we'll show you how to use printable iron on with your Cricut machine to create custom projects.
The first step in using printable iron on with your Cricut machine is to choose the right material. There are several types of printable iron on available, including metallic, glitter, and standard vinyl. Each type has its own unique characteristics and uses, so be sure to choose the one that best suits your project. Once you've chosen your material, you can cut it to size using your Cricut machine.
Tips and Tricks for Using Printable Iron On with Cricut
What is Printable Iron On and How Does it Work? Printable iron on is a type of heat transfer vinyl that can be printed on using an inkjet printer. It's designed to be used with a heat press or iron to transfer the design onto fabric. The vinyl is coated with a special adhesive that melts when heated, allowing it to bond with the fabric. This creates a strong and durable bond that can withstand repeated washing and wear.
Tips and Tricks for Using Printable Iron On with Cricut To get the best results with printable iron on and your Cricut machine, be sure to follow a few simple tips and tricks. First, make sure to mirror your design before cutting it out, as this will ensure that it's applied correctly to the fabric. Second, use a high-quality heat press or iron to apply the design, as this will help to create a strong and even bond. Finally, be sure to follow the manufacturer's instructions for the printable iron on and your Cricut machine to ensure the best results.