
A Beginner's Guide to Using Printable Vinyl with Cricut

Getting Started with Printable Vinyl
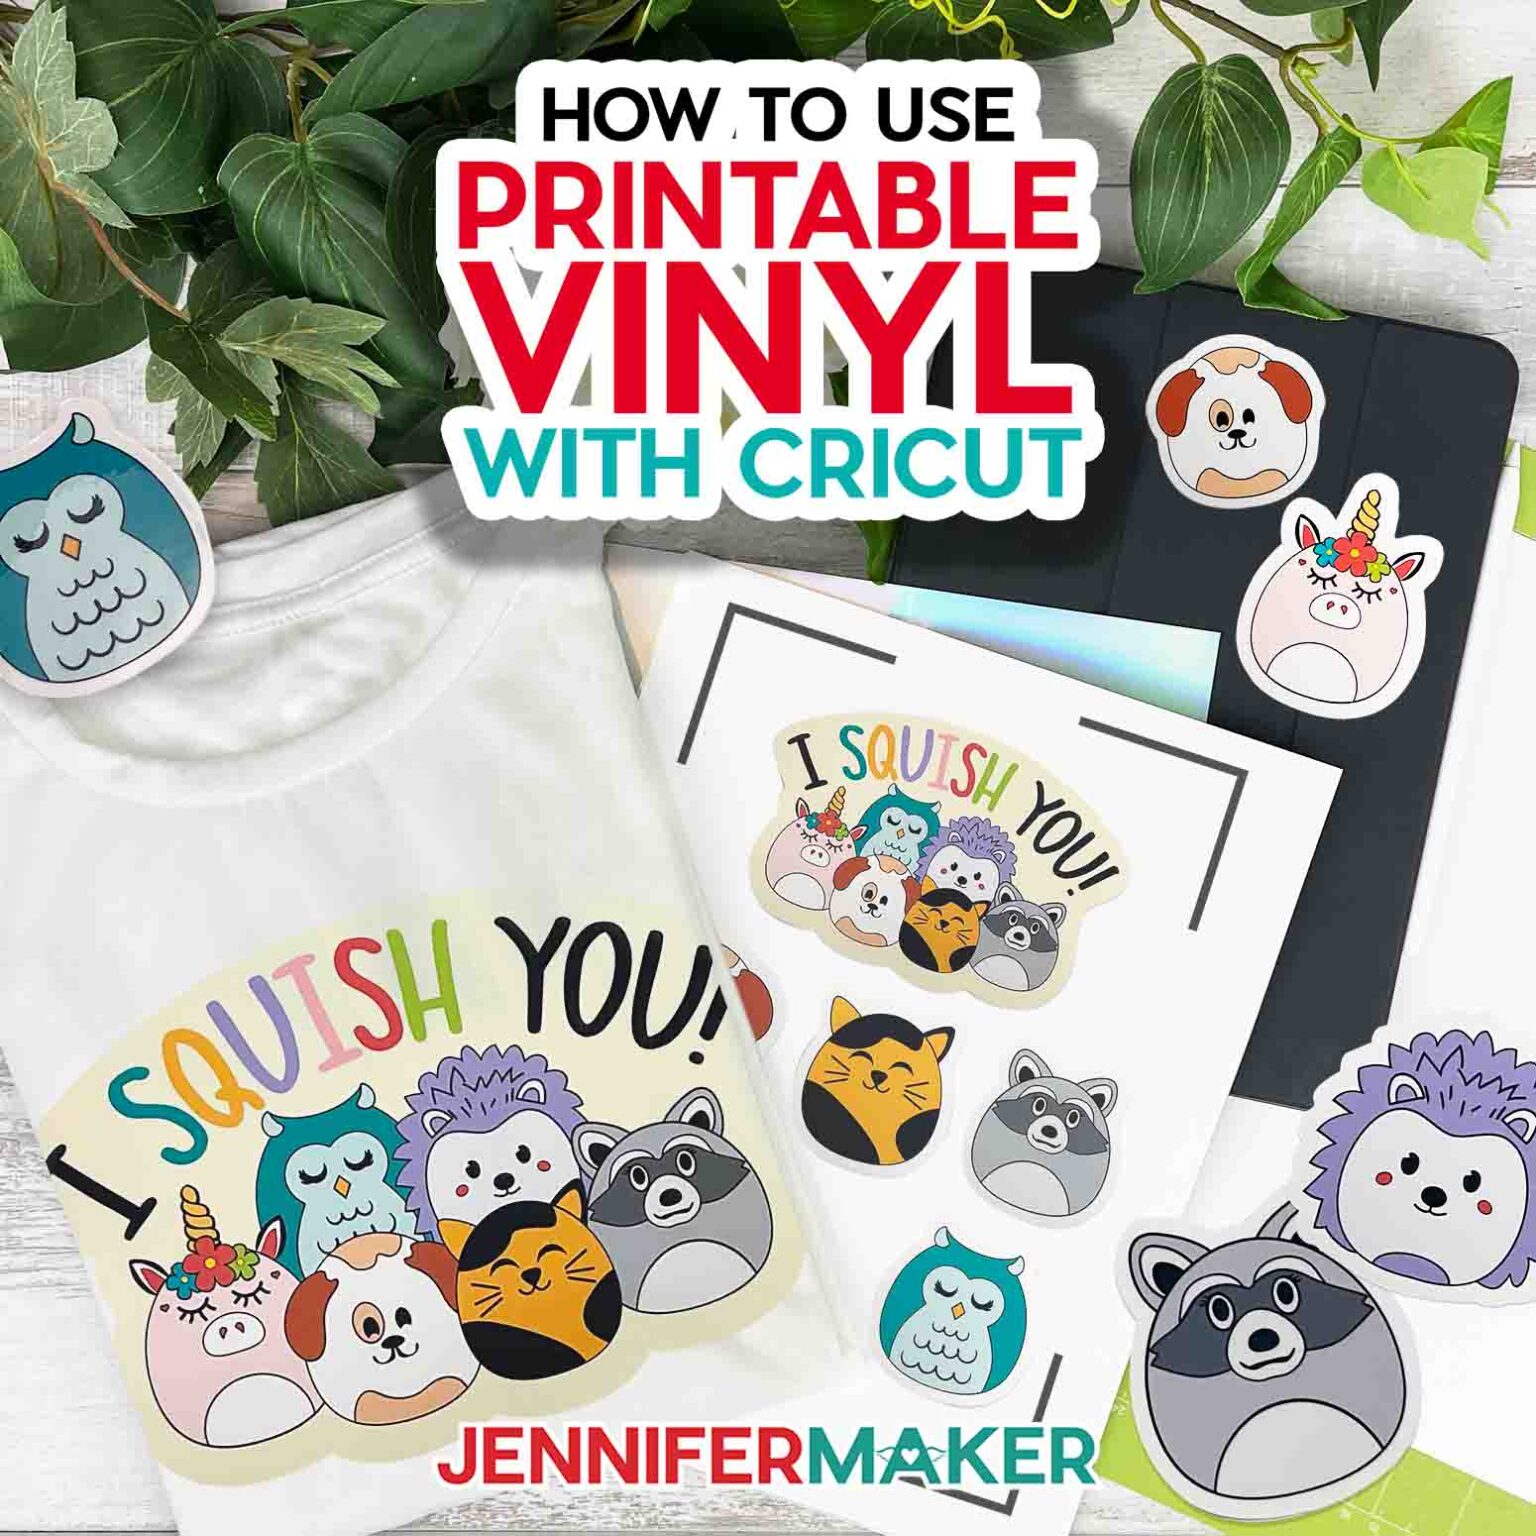
If you're new to the world of Cricut crafting, you might be wondering what all the fuss is about when it comes to printable vinyl. This versatile material allows you to create custom decals, stickers, and more with ease. In this article, we'll take a closer look at how to use printable vinyl with your Cricut machine, and provide you with some helpful tips and tricks to get you started.
To begin, you'll need to purchase some printable vinyl specifically designed for use with your Cricut. This type of vinyl is usually available in a variety of colors and finishes, so be sure to choose the one that best suits your project needs. Once you have your vinyl, simply cut it to size using your Cricut machine and weed out any excess material. From there, you can use your design software to create custom designs and patterns to print onto the vinyl.
Tips and Tricks for Working with Printable Vinyl
When working with printable vinyl, it's essential to follow a few basic guidelines to ensure the best results. First, make sure your Cricut machine is set to the correct settings for cutting vinyl. You'll also want to use a high-quality printer to print your designs onto the vinyl, as this will help ensure vibrant colors and crisp lines. Additionally, be sure to allow the ink to dry completely before cutting or weeding the vinyl, as this will help prevent smudging or smearing.
With a little practice and patience, you'll be creating beautiful custom decals and stickers with your printable vinyl and Cricut machine in no time. Some other tips to keep in mind include using a laminator to protect your designs and make them more durable, as well as experimenting with different colors and finishes to add some extra flair to your projects. By following these simple tips and guidelines, you'll be well on your way to becoming a printable vinyl pro and creating stunning custom designs with ease.