Creating a Printable 3D Image of a Printer: A Step-by-Step Guide
Understanding 3D Printing
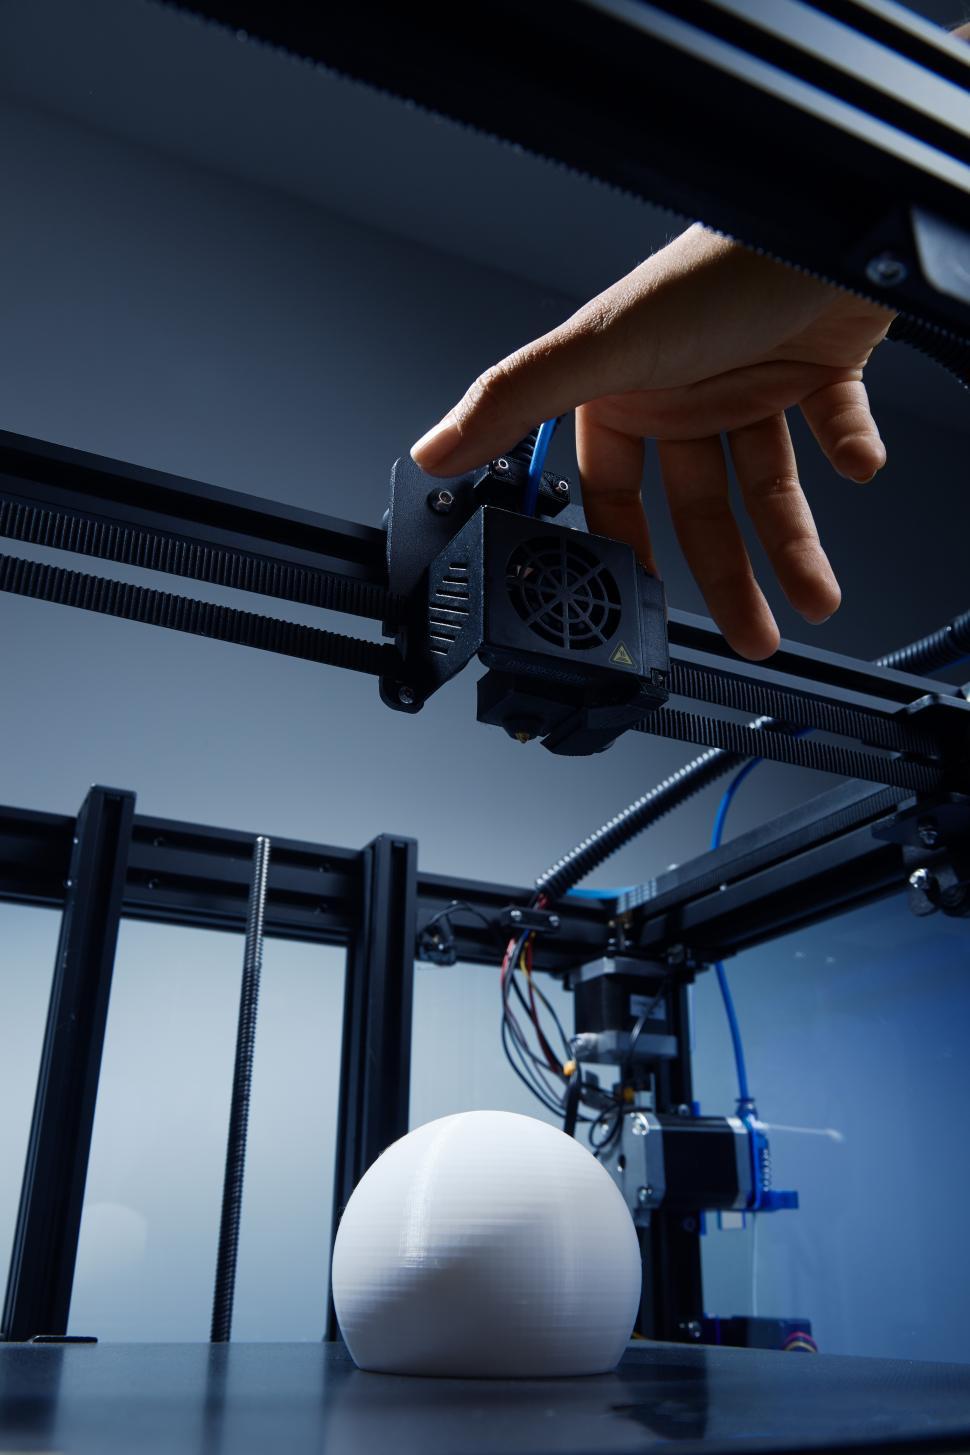
The world of 3D printing has opened up new possibilities for creators and innovators alike. One of the most fascinating aspects of 3D printing is the ability to create complex and detailed models of real-world objects, including a printable 3D image of a printer. In this article, we'll explore the process of creating a printable 3D image of a printer and discuss the various techniques and tools involved.
To start, it's essential to understand the basics of 3D printing and how it works. 3D printing involves layering materials such as plastic, metal, or ceramic to create a physical object from a digital design. This process requires a deep understanding of the object's geometry and structure, as well as the properties of the materials being used.
Designing Your Printable 3D Image
Understanding 3D Printing The first step in creating a printable 3D image of a printer is to understand the object's design and functionality. This involves studying the printer's mechanical components, such as the print head, ink cartridges, and paper tray. By understanding how these components work together, you can create a detailed and accurate 3D model of the printer. Designing Your Printable 3D Image With a solid understanding of the printer's design, you can begin designing your printable 3D image. This involves using computer-aided design (CAD) software or other 3D modeling tools to create a digital model of the printer.
Once you've designed your printable 3D image, you can use 3D printing software to prepare the model for printing. This involves slicing the model into layers and generating a set of instructions that the 3D printer can follow. With the right tools and techniques, you can create a highly detailed and accurate printable 3D image of a printer that showcases the object's intricate design and functionality.