Mastering Printable Vinyl Silhouette Cut Settings for Perfect Crafts


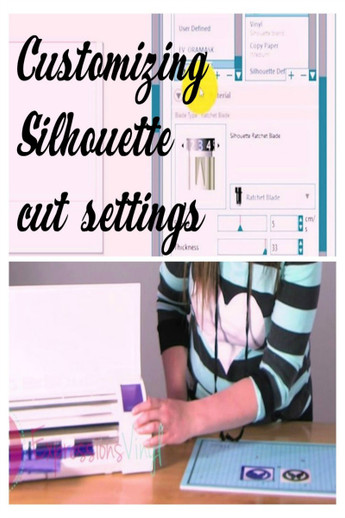

Understanding Your Silhouette Machine
When it comes to working with printable vinyl and a Silhouette machine, getting the cut settings just right can make all the difference between a professional-looking finish and a disappointing result. Printable vinyl is a versatile material that can be used for a wide range of projects, from custom signs and decals to intricate designs and patterns. However, its unique properties require specific cut settings to ensure clean, precise cuts.
The key to mastering printable vinyl Silhouette cut settings lies in understanding how your machine interacts with the material. Different Silhouette models may have slightly varying settings and capabilities, so it's essential to consult your user manual and become familiar with the machine's specifications and limitations. Additionally, the type of printable vinyl you're using can also impact the cut settings, as different brands and thicknesses may require adjustments for optimal results.
Optimizing Cut Settings for Printable Vinyl
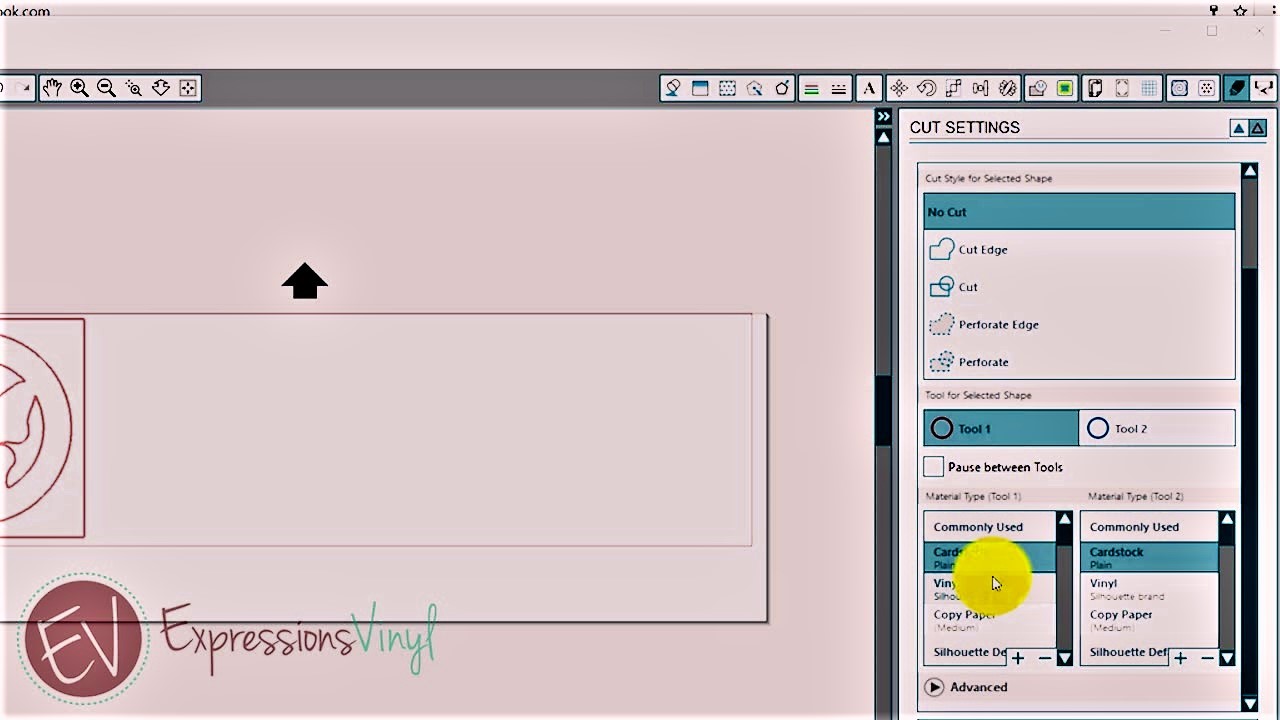
To optimize your cut settings for printable vinyl, you'll need to consider several factors, including the blade type, cut speed, and force. A deeper blade setting may be necessary for thicker vinyl, while a slower cut speed can help prevent tearing and ensure more accurate cuts. It's also crucial to select the right cut mat for your project, as this can affect the machine's ability to grip and cut the vinyl cleanly.
By experimenting with different cut settings and techniques, you can refine your skills and achieve stunning results with printable vinyl and your Silhouette machine. Remember to always follow the manufacturer's guidelines and take advantage of online resources and tutorials to stay up-to-date with the latest tips and best practices. With practice and patience, you'll be creating beautiful, professional-looking projects that showcase your creativity and attention to detail.