
Create Your Own Decorative Wind Spinner with Printable Instructions
Materials Needed for Your Wind Spinner
Are you looking for a fun and creative way to decorate your outdoor space? Look no further than a wind spinner. These beautiful decorations can add a touch of elegance and whimsy to any garden or yard. And the best part is, you can create your own wind spinner with our printable instructions. With just a few simple materials and some basic crafting skills, you can have your own unique wind spinner spinning in the breeze in no time.
To get started, you'll need a few basic materials. These include metal or plastic rods, wire, a drill, and some decorative items like beads or small toys. You'll also need a printer to print out our wind spinner instructions. Don't worry if you're not crafty - our instructions are easy to follow and require no special skills. Simply print out the template, cut out the shapes, and assemble your wind spinner according to the instructions.
Assembling and Decorating Your Wind Spinner
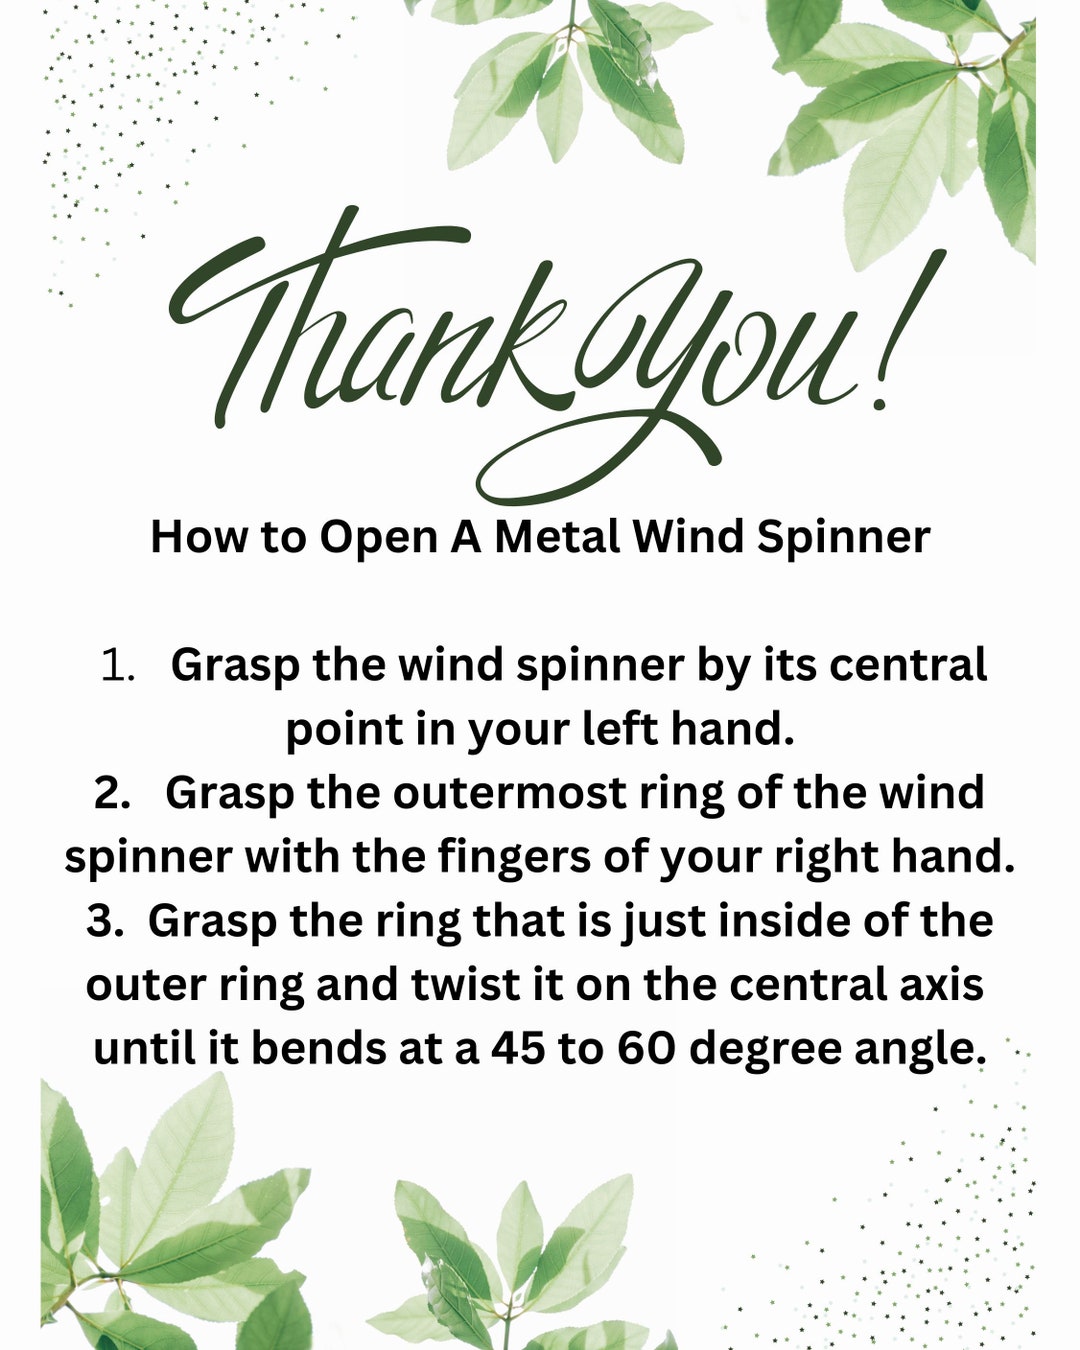
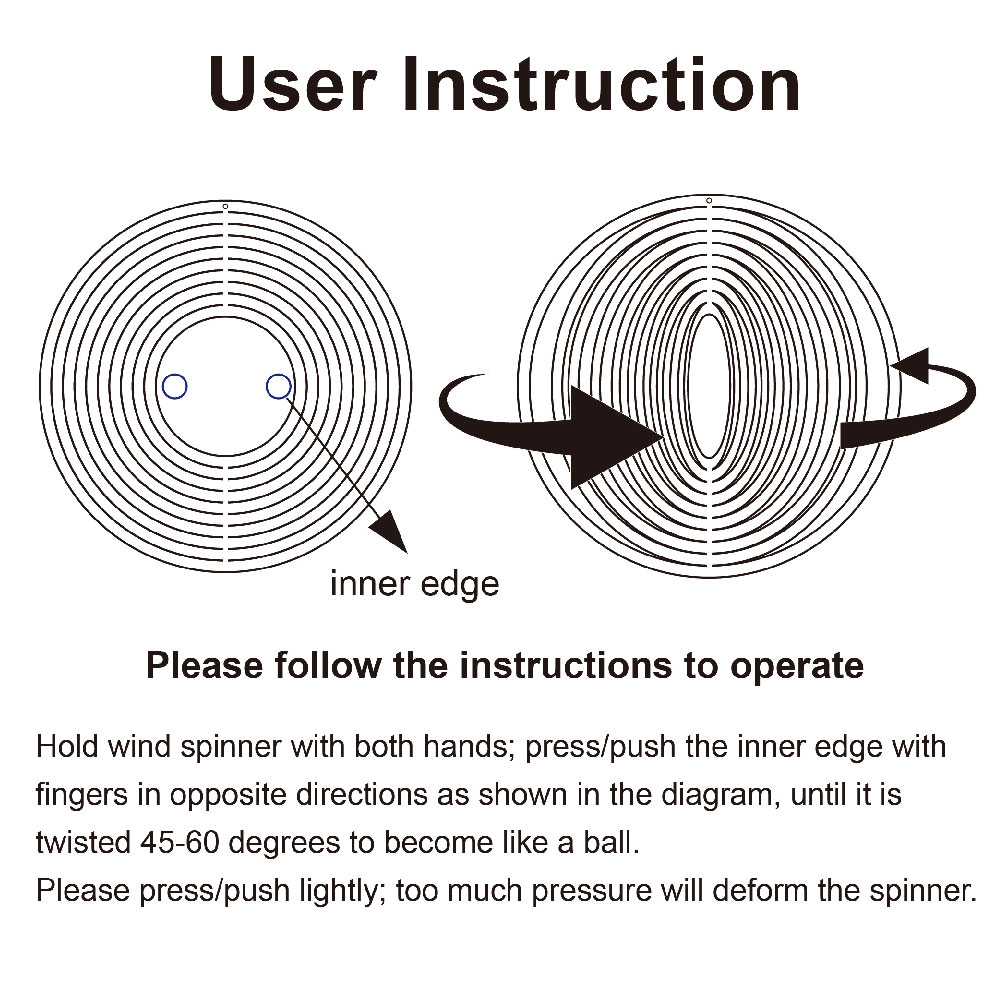
Once you have all your materials, it's time to start assembling your wind spinner. This is the fun part - you get to be creative and add your own personal touches to the design. You can use different colors, shapes, and sizes to make your wind spinner truly unique. And with our printable instructions, you'll have a clear guide to follow every step of the way.
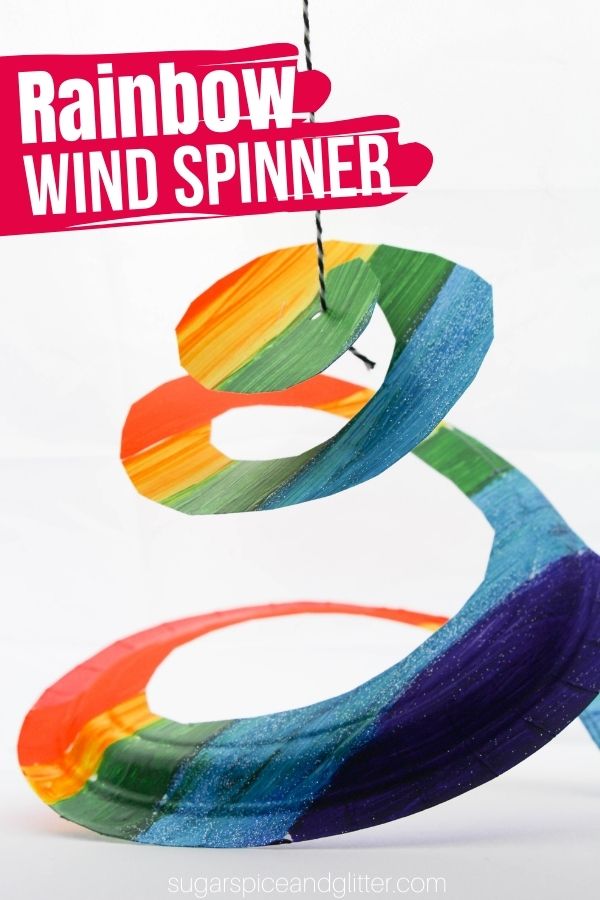
With your wind spinner assembled, it's time to add the finishing touches. You can decorate your wind spinner with paint, markers, or any other craft supplies you like. Add some beads or small toys to give it some extra movement and interest. And when you're finished, simply hang your wind spinner in a breezy spot and enjoy the beautiful spinning motion. Our printable wind spinner instructions make it easy to create your own beautiful outdoor decoration - so why not give it a try today?