Prusa I3 Mk2s Printable Parts: Upgrade Your 3D Printer with Ease
Upgrading Your Prusa I3 Mk2s with Printable Parts
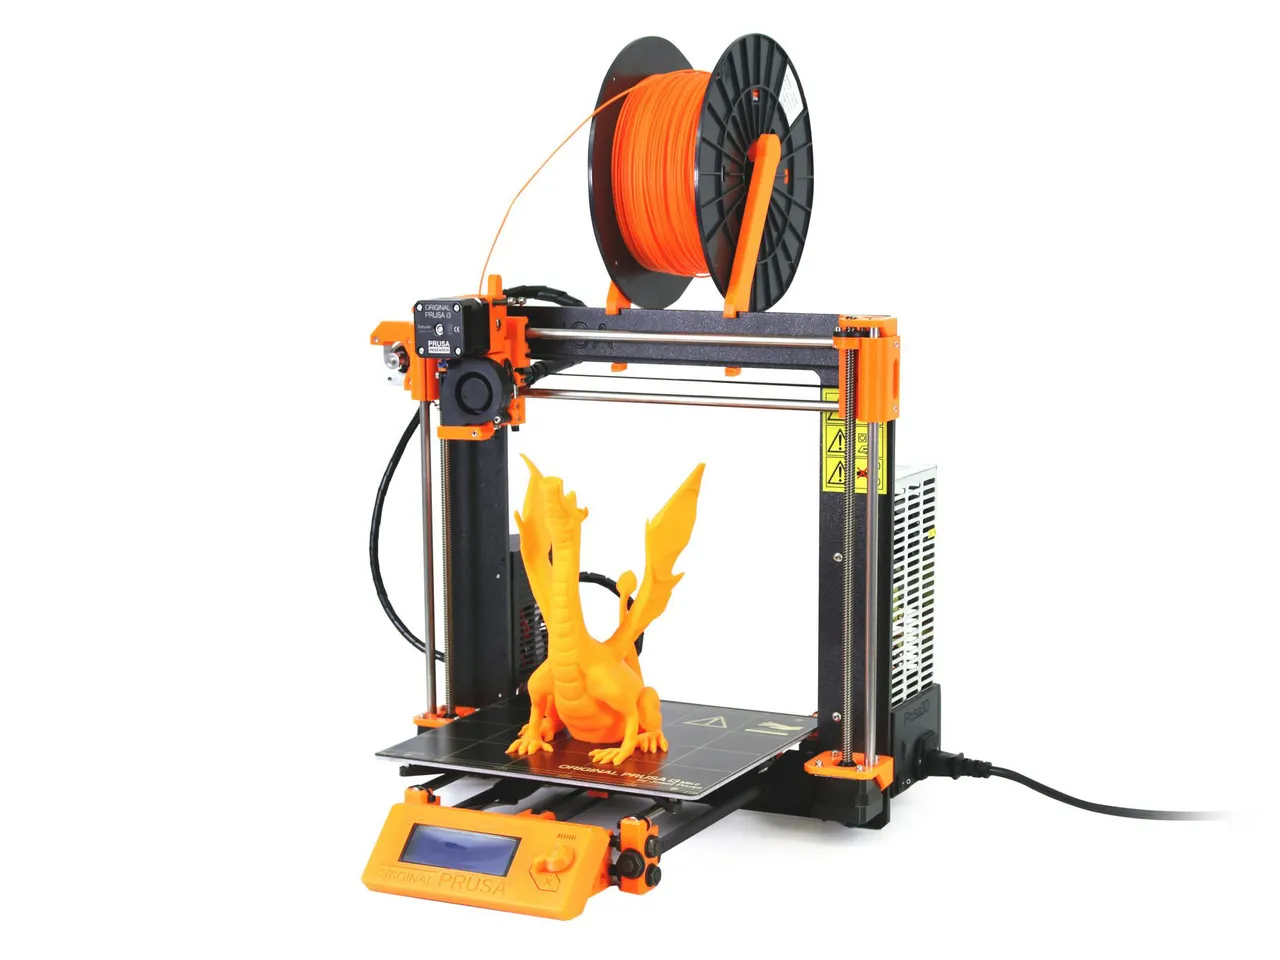
The Prusa I3 Mk2s is a popular 3D printer known for its high-quality prints and versatility. One of the best things about this printer is the ability to upgrade and customize it with printable parts. With a wide range of designs available online, you can easily find and print the parts you need to take your printing to the next level. From simple upgrades like printer mounts and cable management systems to more complex modifications like custom extruders and hotends, the possibilities are endless.
Upgrading your Prusa I3 Mk2s with printable parts can be a fun and rewarding experience. Not only can it improve the performance and reliability of your printer, but it can also give you a sense of accomplishment and pride in your work. Whether you're a seasoned maker or just starting out, printable parts are a great way to get involved in the 3D printing community and learn new skills.
Tips and Tricks for Printing and Installing Custom Parts
When it comes to upgrading your Prusa I3 Mk2s with printable parts, there are a few things to keep in mind. First, make sure you have a good understanding of the design and functionality of the part you want to print. This will help you to identify any potential issues or areas for improvement. Next, choose a high-quality design that is specifically made for the Prusa I3 Mk2s. This will ensure that the part fits properly and works as intended. Finally, be sure to follow proper printing and installation procedures to avoid any damage to your printer or the printed part.
Printing and installing custom parts for your Prusa I3 Mk2s can be a bit tricky, but with the right tips and tricks, you can achieve professional-looking results. One of the most important things to keep in mind is to use high-quality filament that is suitable for printing functional parts. You should also make sure your printer is properly calibrated and that you're using the right printing settings for the job. When it comes to installation, be sure to follow the instructions carefully and take your time to avoid any mistakes. With a little practice and patience, you'll be printing and installing custom parts like a pro in no time.