A Step-by-Step Guide to Cutting Printable Iron On with Cricut


Preparing Your Design
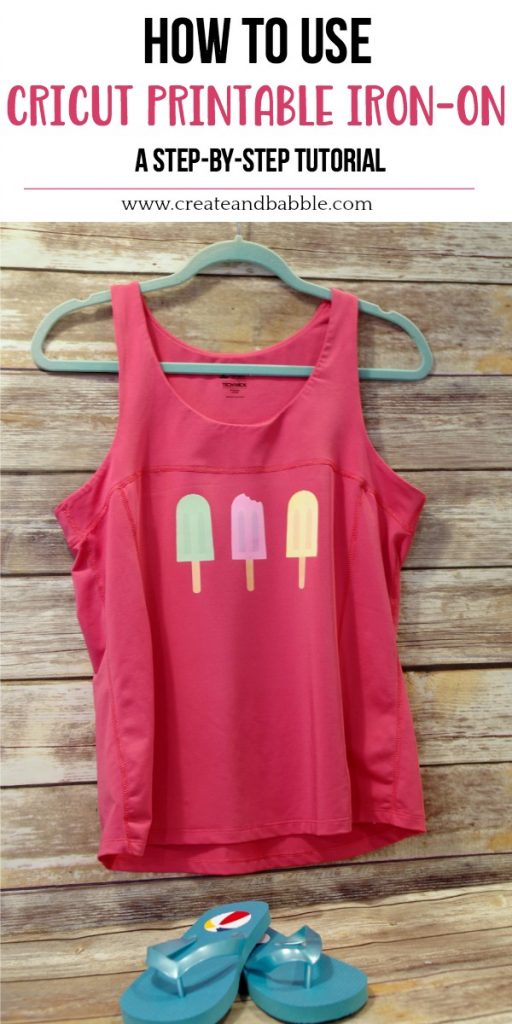
Cutting printable iron on with Cricut is a great way to add a personal touch to your clothing, accessories, and home decor. With the right tools and techniques, you can achieve professional-looking results that will make your projects stand out. In this article, we'll walk you through the steps to cut printable iron on with Cricut, from preparing your design to applying the final product.
The first step in cutting printable iron on with Cricut is to prepare your design. This involves creating your design using the Cricut Design Space software or other compatible design programs. You can choose from a wide range of fonts, shapes, and images to create a unique design that reflects your personality or brand. Once you've created your design, you'll need to mirror it and set the material to printable iron on in the Cricut settings.
Cutting and Weeding Your Design
When preparing your design, it's essential to consider the size and complexity of the image. Simple designs with bold lines and minimal details work best for iron on transfers. You should also ensure that your design is the correct size for your project, taking into account the size of the material and the Cricut mat. With the right design and settings, you'll be ready to move on to the next step: cutting and weeding your design.
Cutting and weeding your design is a crucial step in the process. To cut your design, place the printable iron on material on the Cricut mat, ensuring it's aligned with the grid lines. Send the design to the Cricut machine, and it will precisely cut out the design. After cutting, use the weeding tool to remove the excess material from the design. This will leave you with a clean, crisp design that's ready to be applied to your project. With these simple steps, you'll be able to cut printable iron on with Cricut like a pro and take your DIY projects to new heights.