
How To Use Cricut With Printable Vinyl: A Beginner's Guide


Getting Started with Cricut and Printable Vinyl
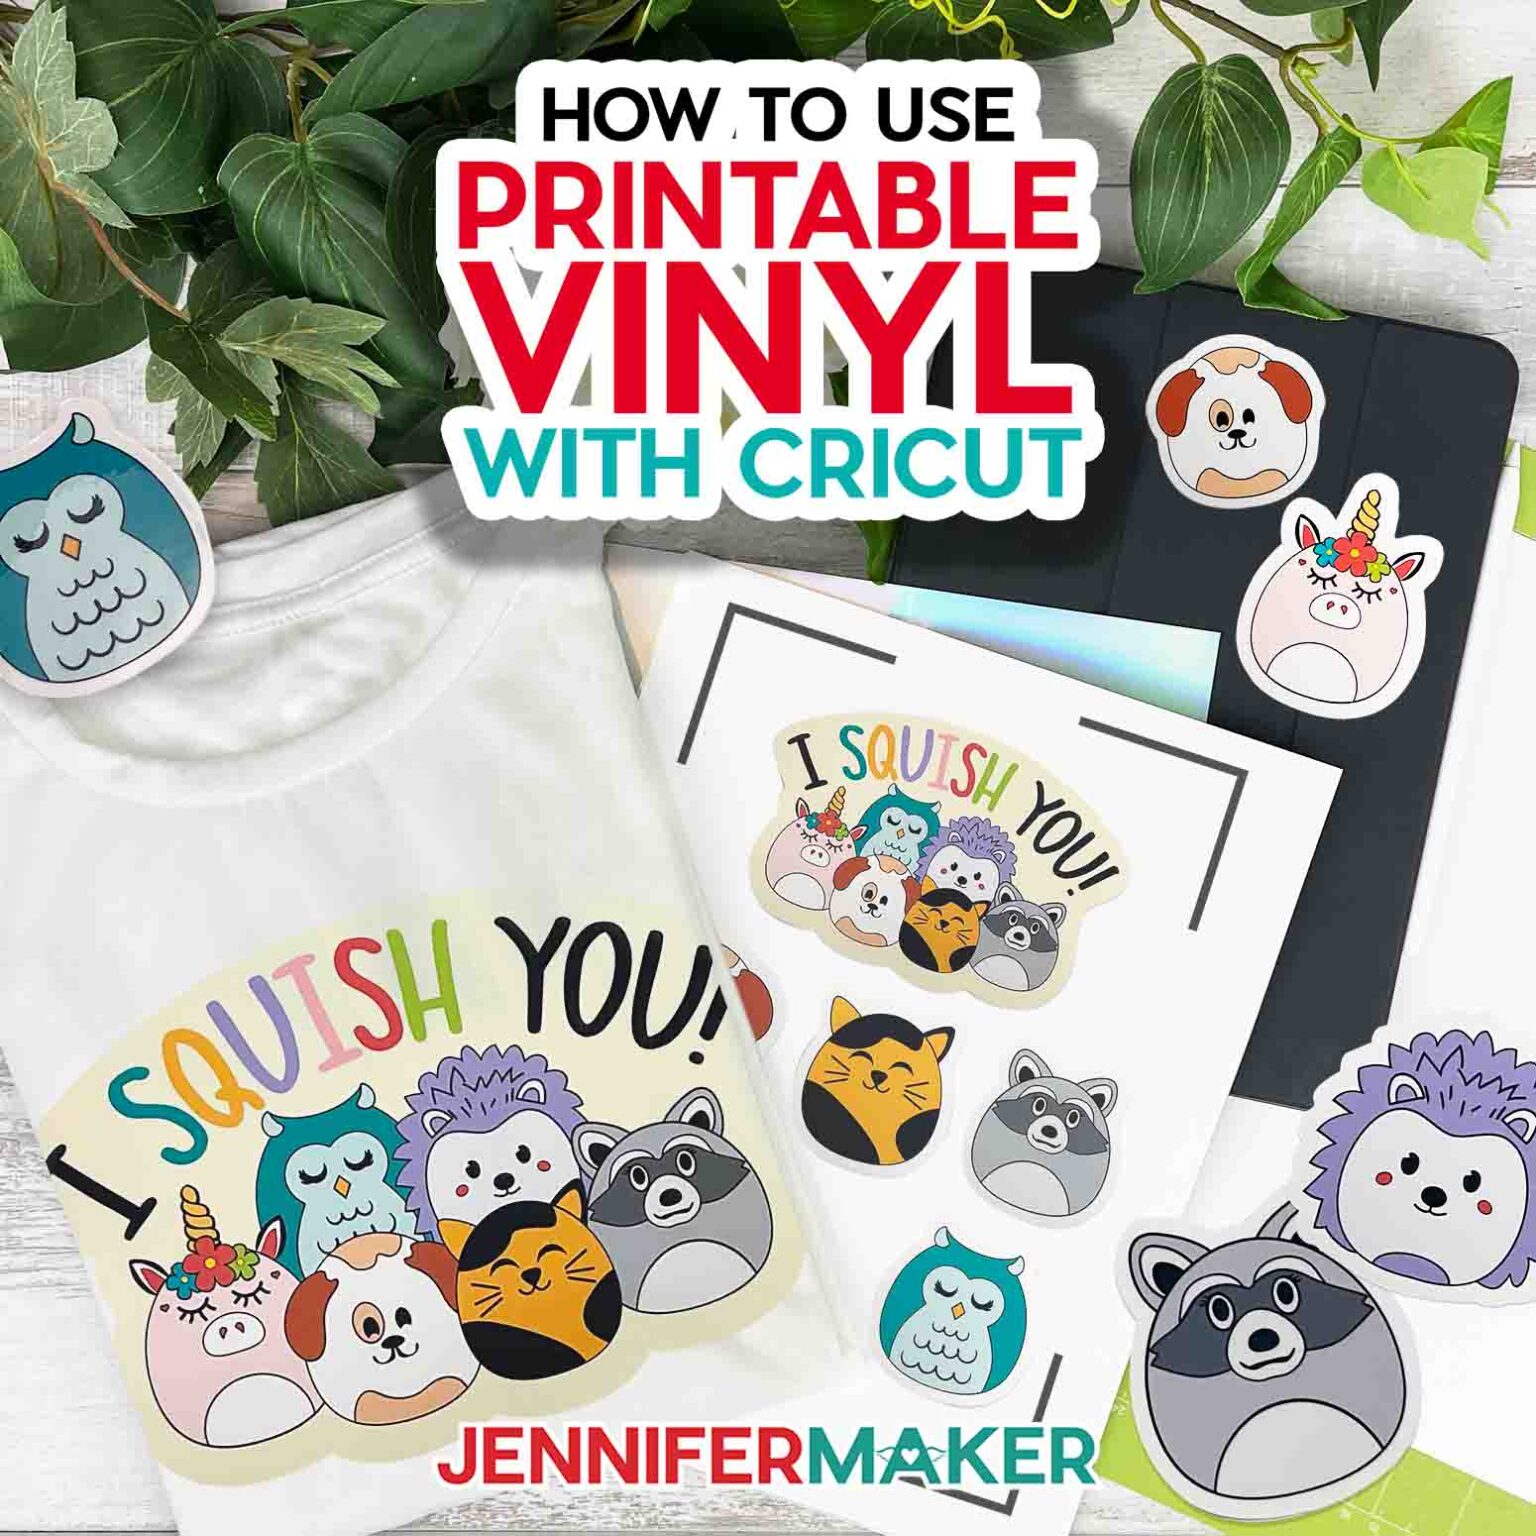
Are you excited to start creating custom stickers, decals, and signs with your Cricut machine and printable vinyl? With the right tools and a little practice, you can achieve professional-looking results. In this article, we'll walk you through the basics of using Cricut with printable vinyl and provide you with some helpful tips and tricks to get you started.
To begin, make sure you have the necessary materials, including your Cricut machine, printable vinyl, a cutting mat, and a weeding tool. You'll also need to choose a design or image to cut, which can be done using Cricut's design software or other graphic design programs. Once you have your design ready, send it to your Cricut machine and let it do the work.
Tips and Tricks for Working with Printable Vinyl
When working with printable vinyl, it's essential to understand the different types of vinyl and their uses. Printable vinyl is a type of vinyl that can be printed with ink, allowing you to create custom designs and images. It's perfect for making stickers, decals, and signs, and can be used on a variety of surfaces, including paper, plastic, and metal. To ensure the best results, make sure to follow the manufacturer's instructions for printing and cutting your vinyl.
With a little practice and patience, you can achieve amazing results with your Cricut machine and printable vinyl. Some tips to keep in mind include using the right settings on your Cricut machine, such as the correct blade depth and pressure, and using a weeding tool to remove excess vinyl from your design. You should also experiment with different types of vinyl and surfaces to find what works best for your projects. By following these tips and practicing your skills, you'll be creating custom stickers, decals, and signs like a pro in no time.