
A Beginner's Guide to Using Printable Iron On Vinyl

Getting Started with Printable Iron On Vinyl
Printable iron on vinyl is a great way to add custom designs to your favorite clothing items, such as t-shirts, hoodies, and hats. With the right tools and a little practice, you can create professional-looking designs that will make your clothes stand out. In this article, we'll show you how to use printable iron on vinyl to create custom designs that will impress your friends and family.
To get started, you'll need a few basic supplies, including a printer, a cutting machine, and a heat press. You'll also need to choose the right type of iron on vinyl for your project. There are several types of iron on vinyl available, including matte, glossy, and metallic finishes. Choose the one that best fits your design and the type of clothing you're working with.
Tips and Tricks for Applying Iron On Vinyl
Once you have your supplies, it's time to start designing. You can use a software program like Adobe Illustrator or Canva to create your design. Keep in mind that the design should be mirrored, or flipped, before printing. This is because the iron on vinyl will be applied to the clothing with the design facing down. After printing, cut out the design using a cutting machine or scissors.
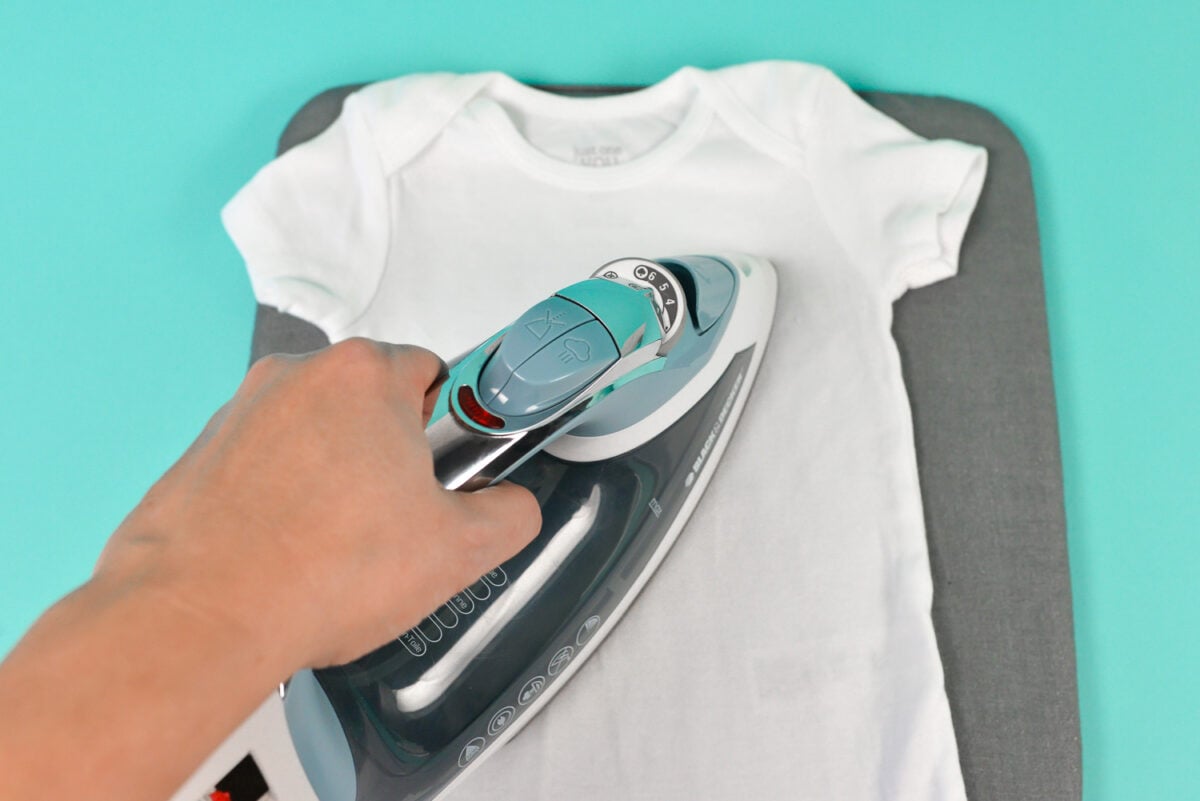
Applying the iron on vinyl to your clothing is the final step. Preheat your heat press to the recommended temperature, usually around 300-320 degrees Fahrenheit. Place the clothing on the heat press, with the design facing down, and apply pressure for the recommended amount of time, usually around 15-20 seconds. Let the clothing cool before handling, and your custom design is complete. With a little practice, you'll be creating professional-looking designs in no time.