
A Beginner's Guide to Using Printable Vinyl in Cricut


Getting Started with Printable Vinyl
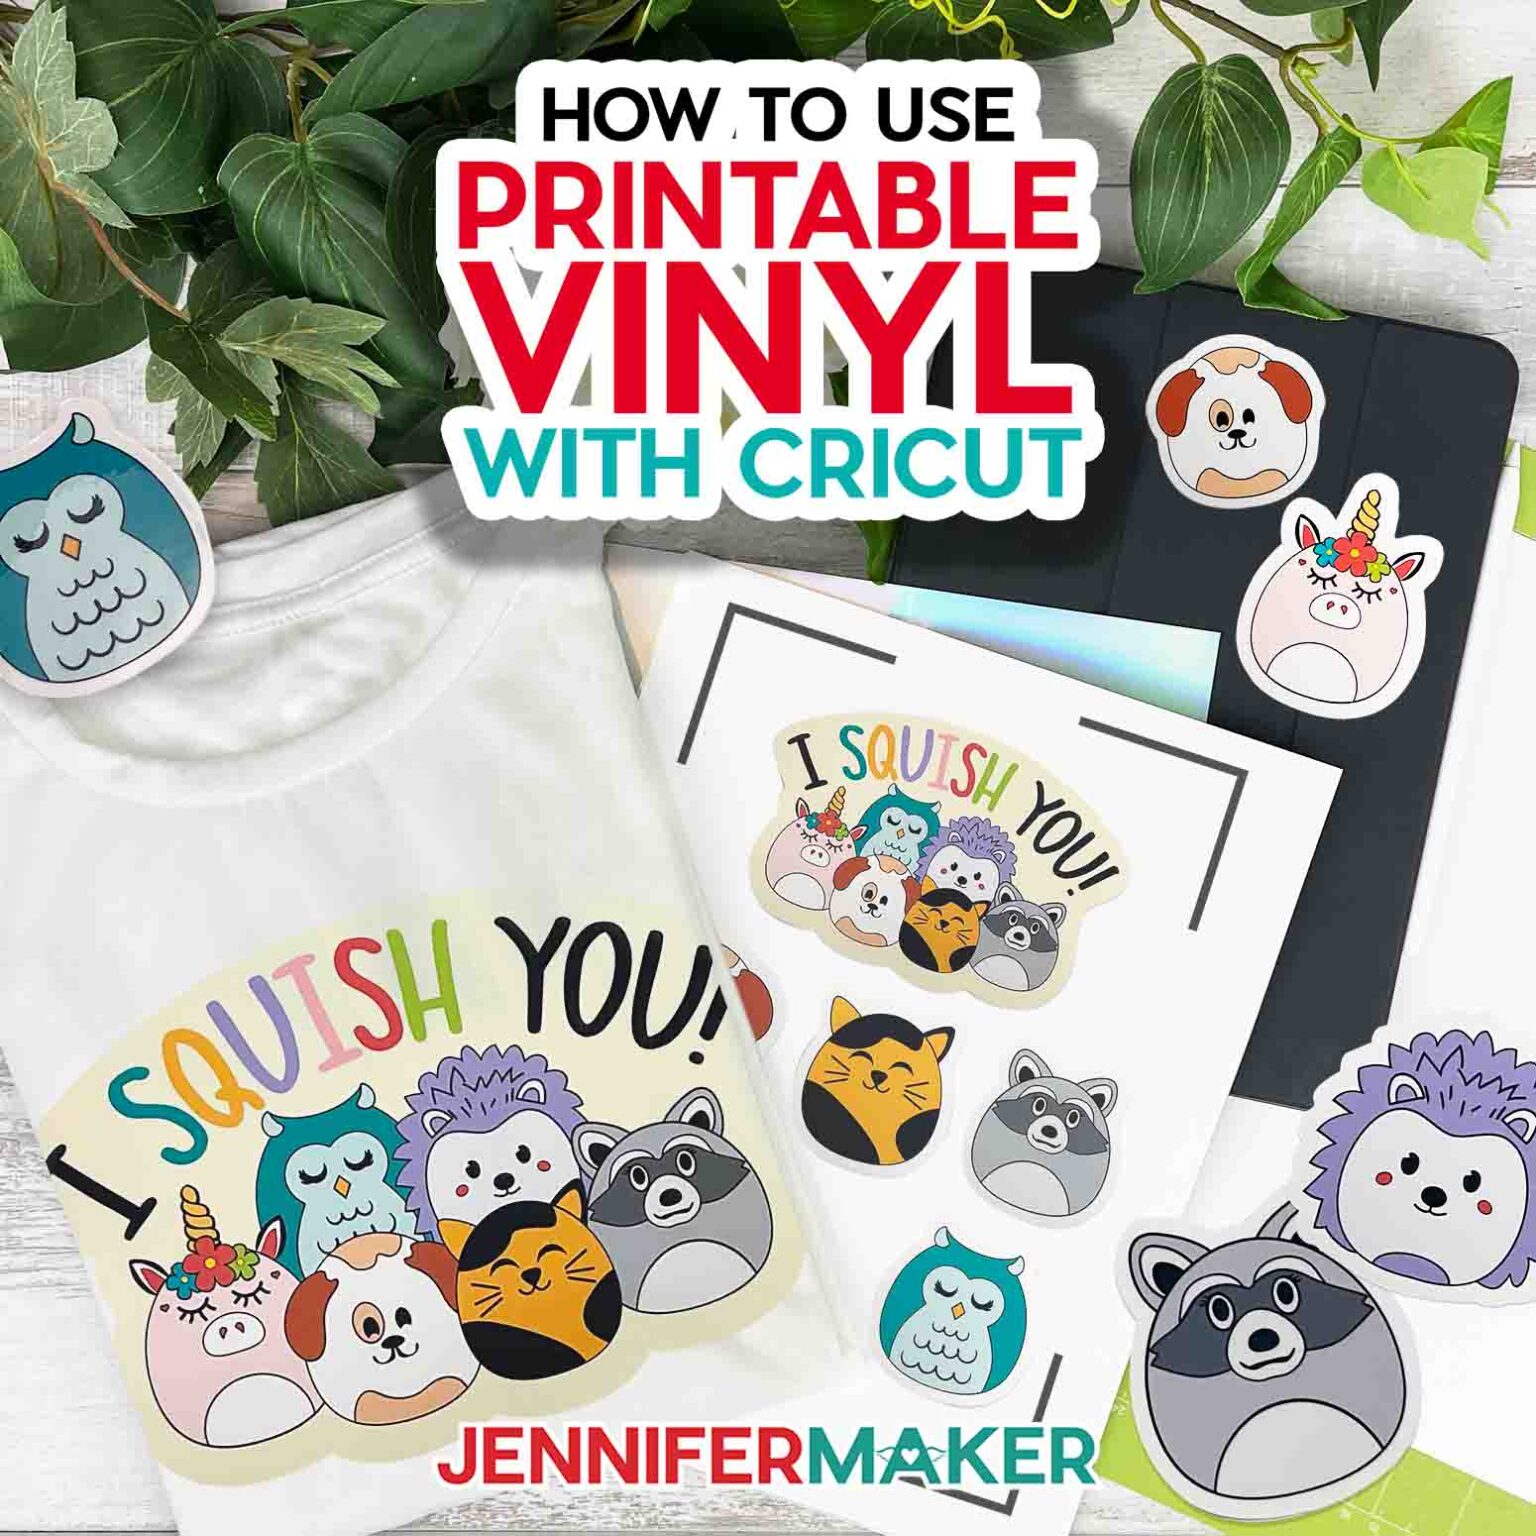
If you're new to the world of Cricut, you might be wondering what all the fuss is about when it comes to printable vinyl. This versatile material is a game-changer for crafters and DIY enthusiasts, allowing you to create custom designs and decals with ease. In this article, we'll take a closer look at how to use printable vinyl in Cricut, covering the basics and sharing some expert tips to help you get the most out of this amazing material.
To get started with printable vinyl, you'll need a few basic supplies. These include a Cricut machine, a printer, and of course, the printable vinyl itself. You'll also need a cutting mat and a weeding tool to help you remove excess vinyl from your design. Once you have all your supplies, it's time to start designing. You can use Cricut's Design Space software to create your custom design, or use a third-party program like Adobe Illustrator.
Tips and Tricks for a Flawless Finish
When it comes to using printable vinyl in Cricut, the key is to make sure your design is set up correctly. This means ensuring that your image is mirrored and that the cut lines are set to the correct depth. You'll also want to make sure that your vinyl is properly aligned on the cutting mat, and that the machine is set to the correct pressure and speed. With a little practice, you'll be creating stunning custom decals and designs in no time.
To achieve a flawless finish with your printable vinyl, it's all about the details. Make sure to use a high-quality vinyl that is specifically designed for printing, and follow the manufacturer's instructions for application and removal. You should also use a laminator to protect your design and give it a professional finish. With these tips and tricks, you'll be well on your way to creating stunning custom designs with printable vinyl and Cricut.